Why does my Art suck ?

Whether you’re a photographer, painter, or any other form of artist, we all get that horrible feeling as we scroll through our Instagram and see everyone’s art that’s so much better than ours. Is my art that bad? How do I improve?
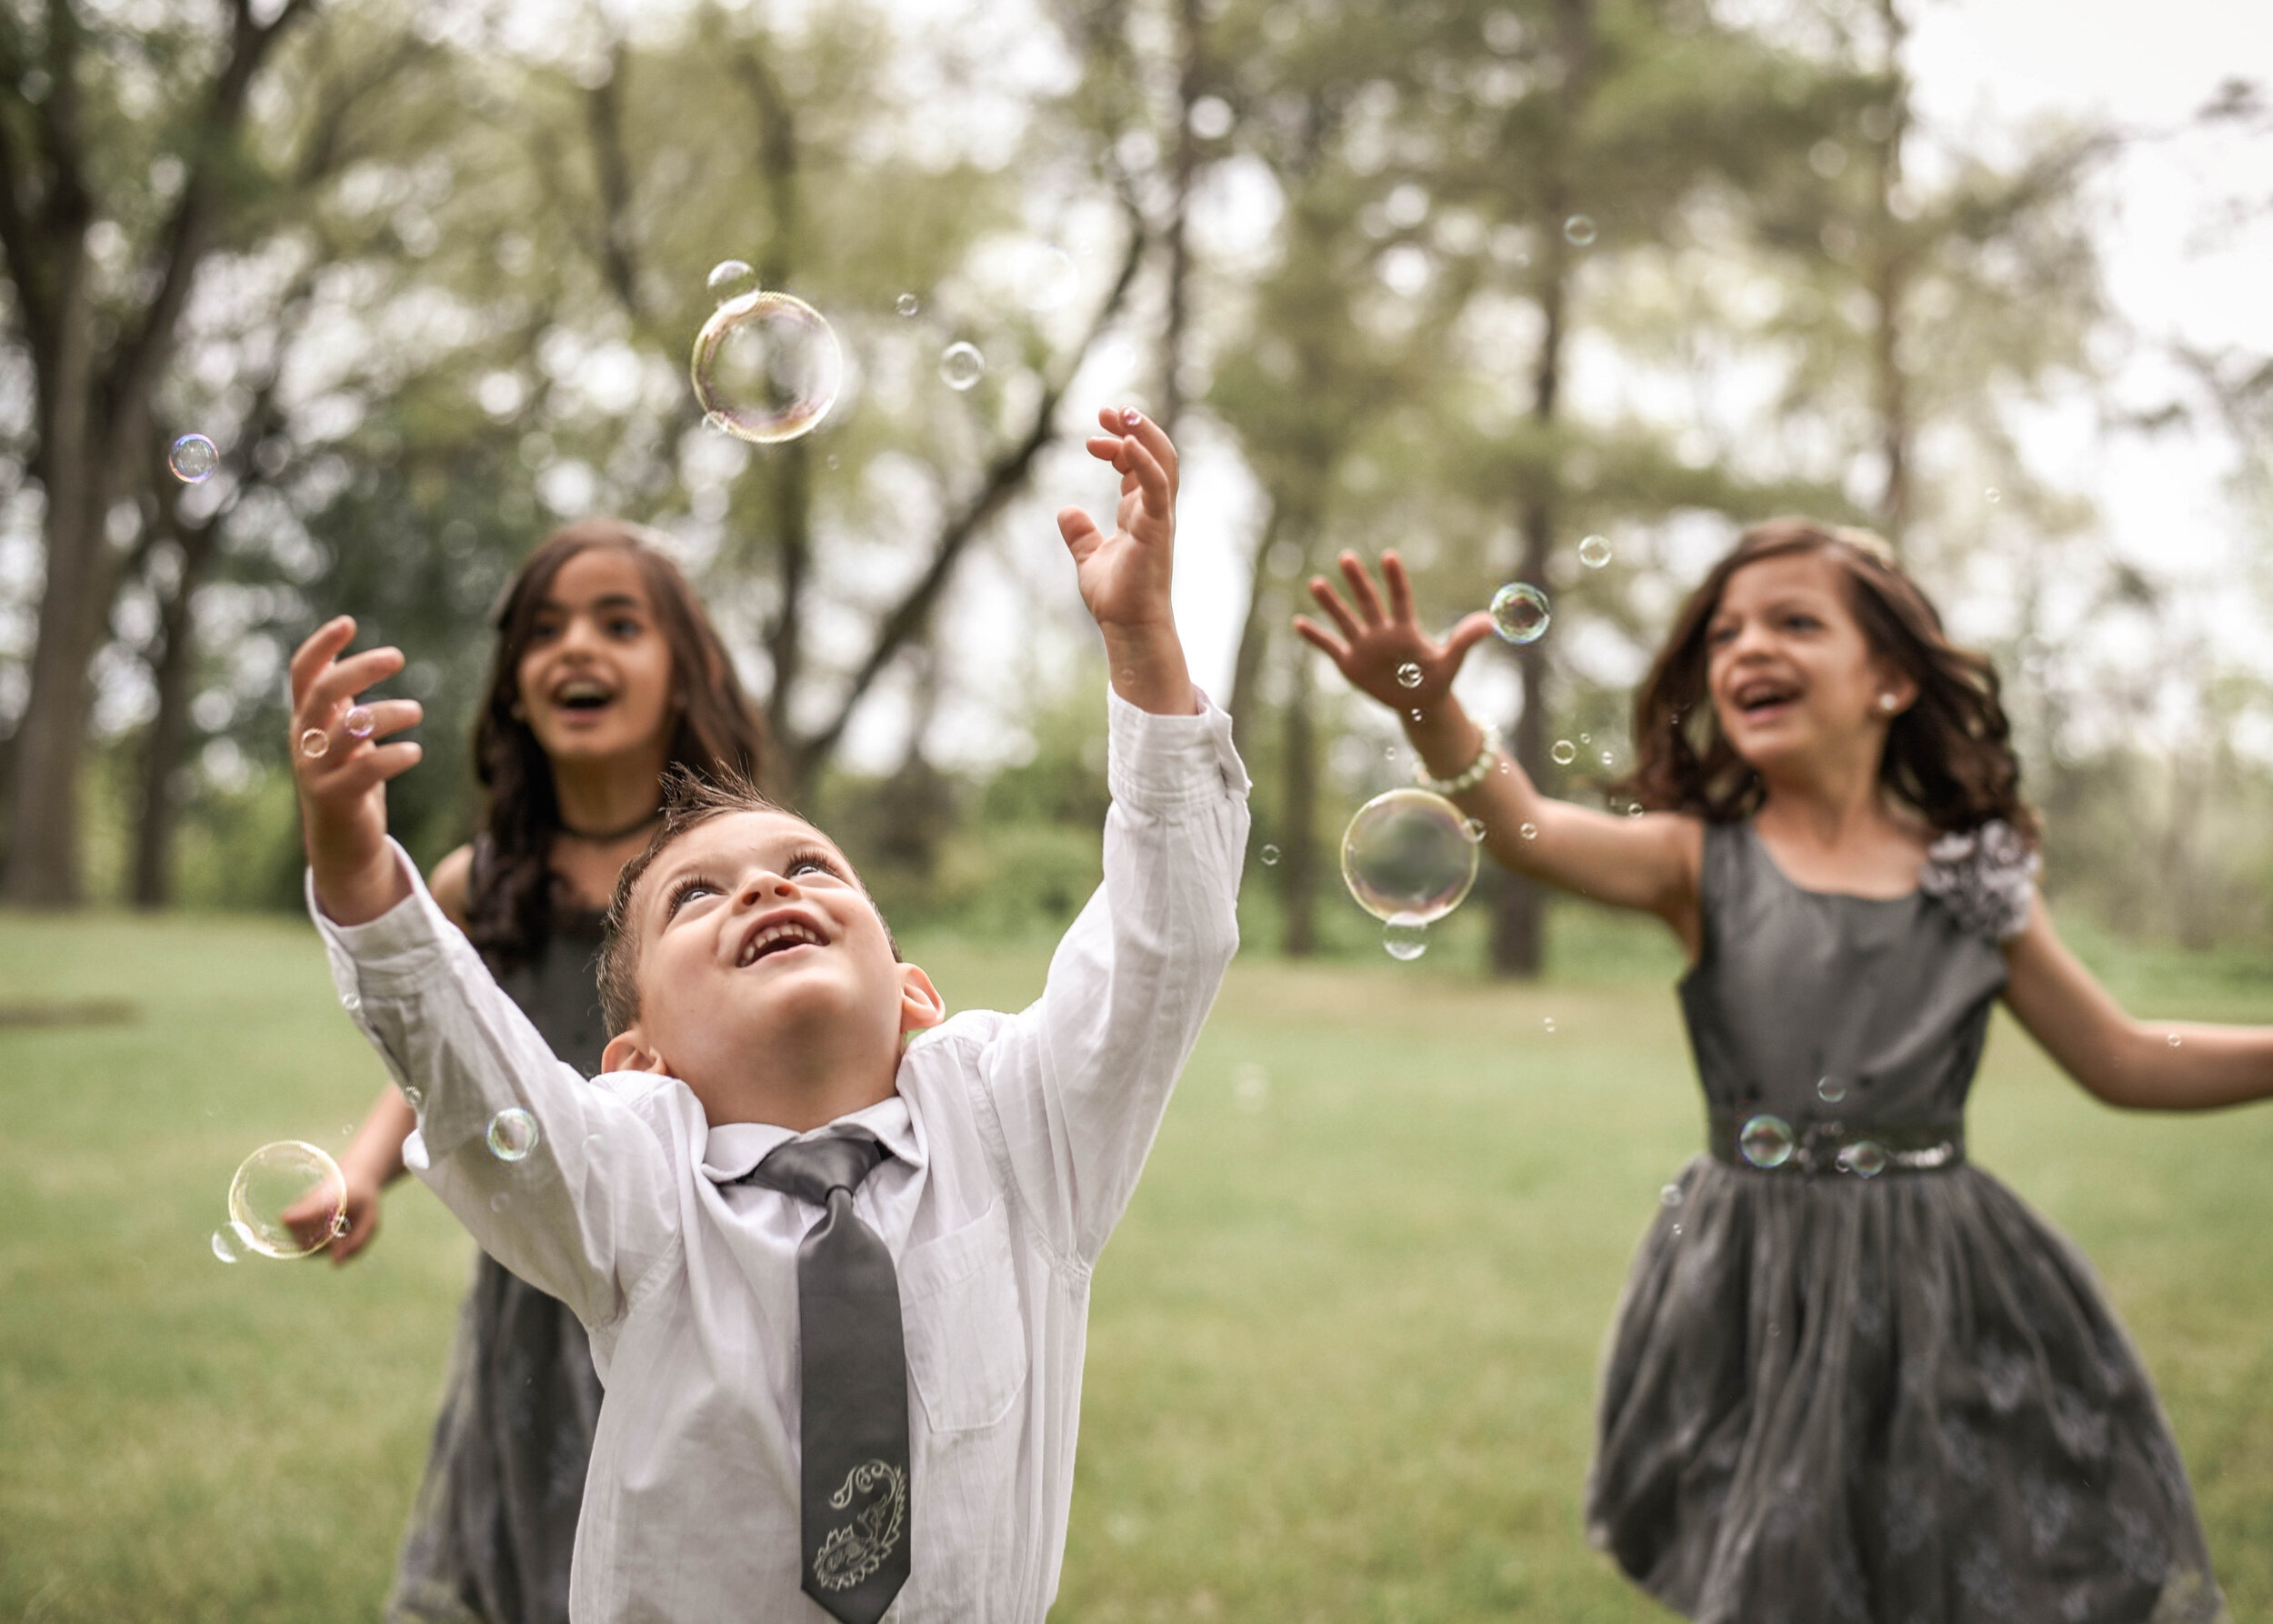
WINNIPEG WEDDING PHOTOGRAPHER
In grade 9, I picked up a camera for the first time. I didn’t have any intention of becoming a Winnipeg Wedding Photographer but rather wanted something to help pass the time. I later created an Instagram (@carltons.captures) where I started to share these photos. I’m convinced that if it wasn’t for the people in my life that told me I was taking amazing photos, I would have probably quit. It was because I was convinced that I took the most breathtaking photos ever that kept me going. For many people this is the case starting out in their area of art. That is until you get exposed to other people’s art. More and more, I would scroll through my social media feed saturated with amazing photography, and I started to realize where my skill level was compared to amazing artists. What happened was my artistic taste developed faster than my skill. This is what’s called the gap.
This isn’t an original idea, and I wish I could tell you who came up with this idea. To recap, as early artists, we are exposed to a lot of amazing art. Our creative taste develops faster than our skill which makes us set higher standards for ourselves. We are no longer happy with the art we produce. The sad part is that many people stop practicing and producing art because they feel like their art sucks. This doesn’t just happen for early artists, but also for people with higher developed skill.
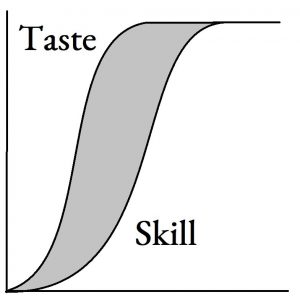
On the graph below you can see a visual on how your Taste develops faster than your Skill leaving a gray area we call the Gap.
THE SOLUTION
Lucky for us, there’s a solution. We need to cease comparison when it comes to other artists in our field as much as possible, instead, compare ourselves to the art that was produced yesterday. Comparing yourself to your earlier art is an easy way to ensure you’re improving. Another way to prevent being stuck in the gap is to distance yourself from the places you normally compare yourself to others, this may be Instagram, Facebook, etc. Do your best to continue to develop your skill and do what you love!