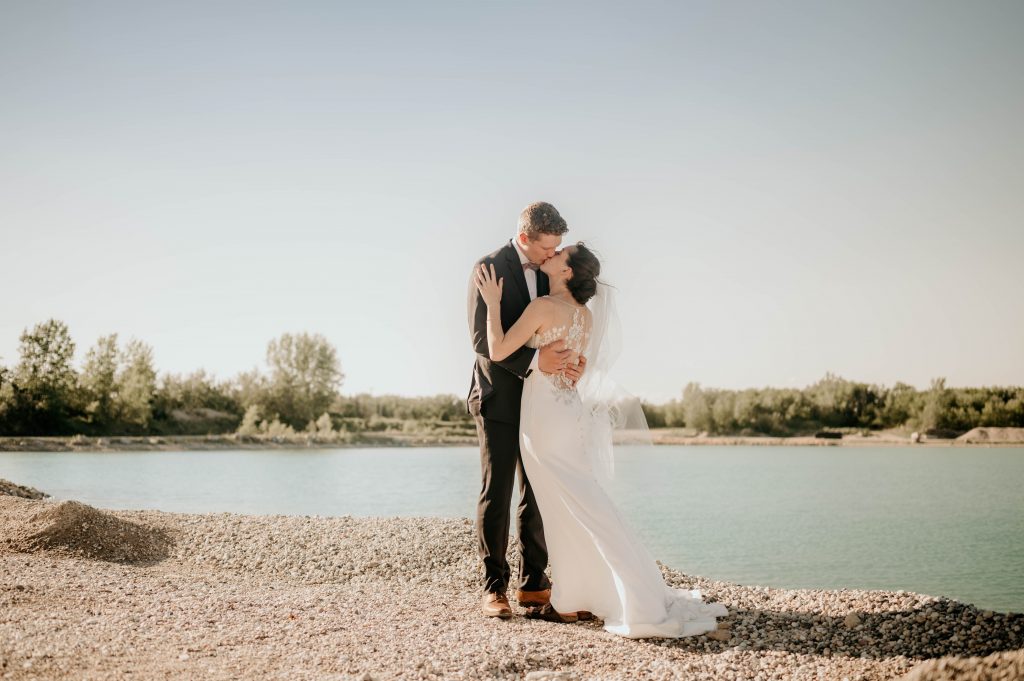
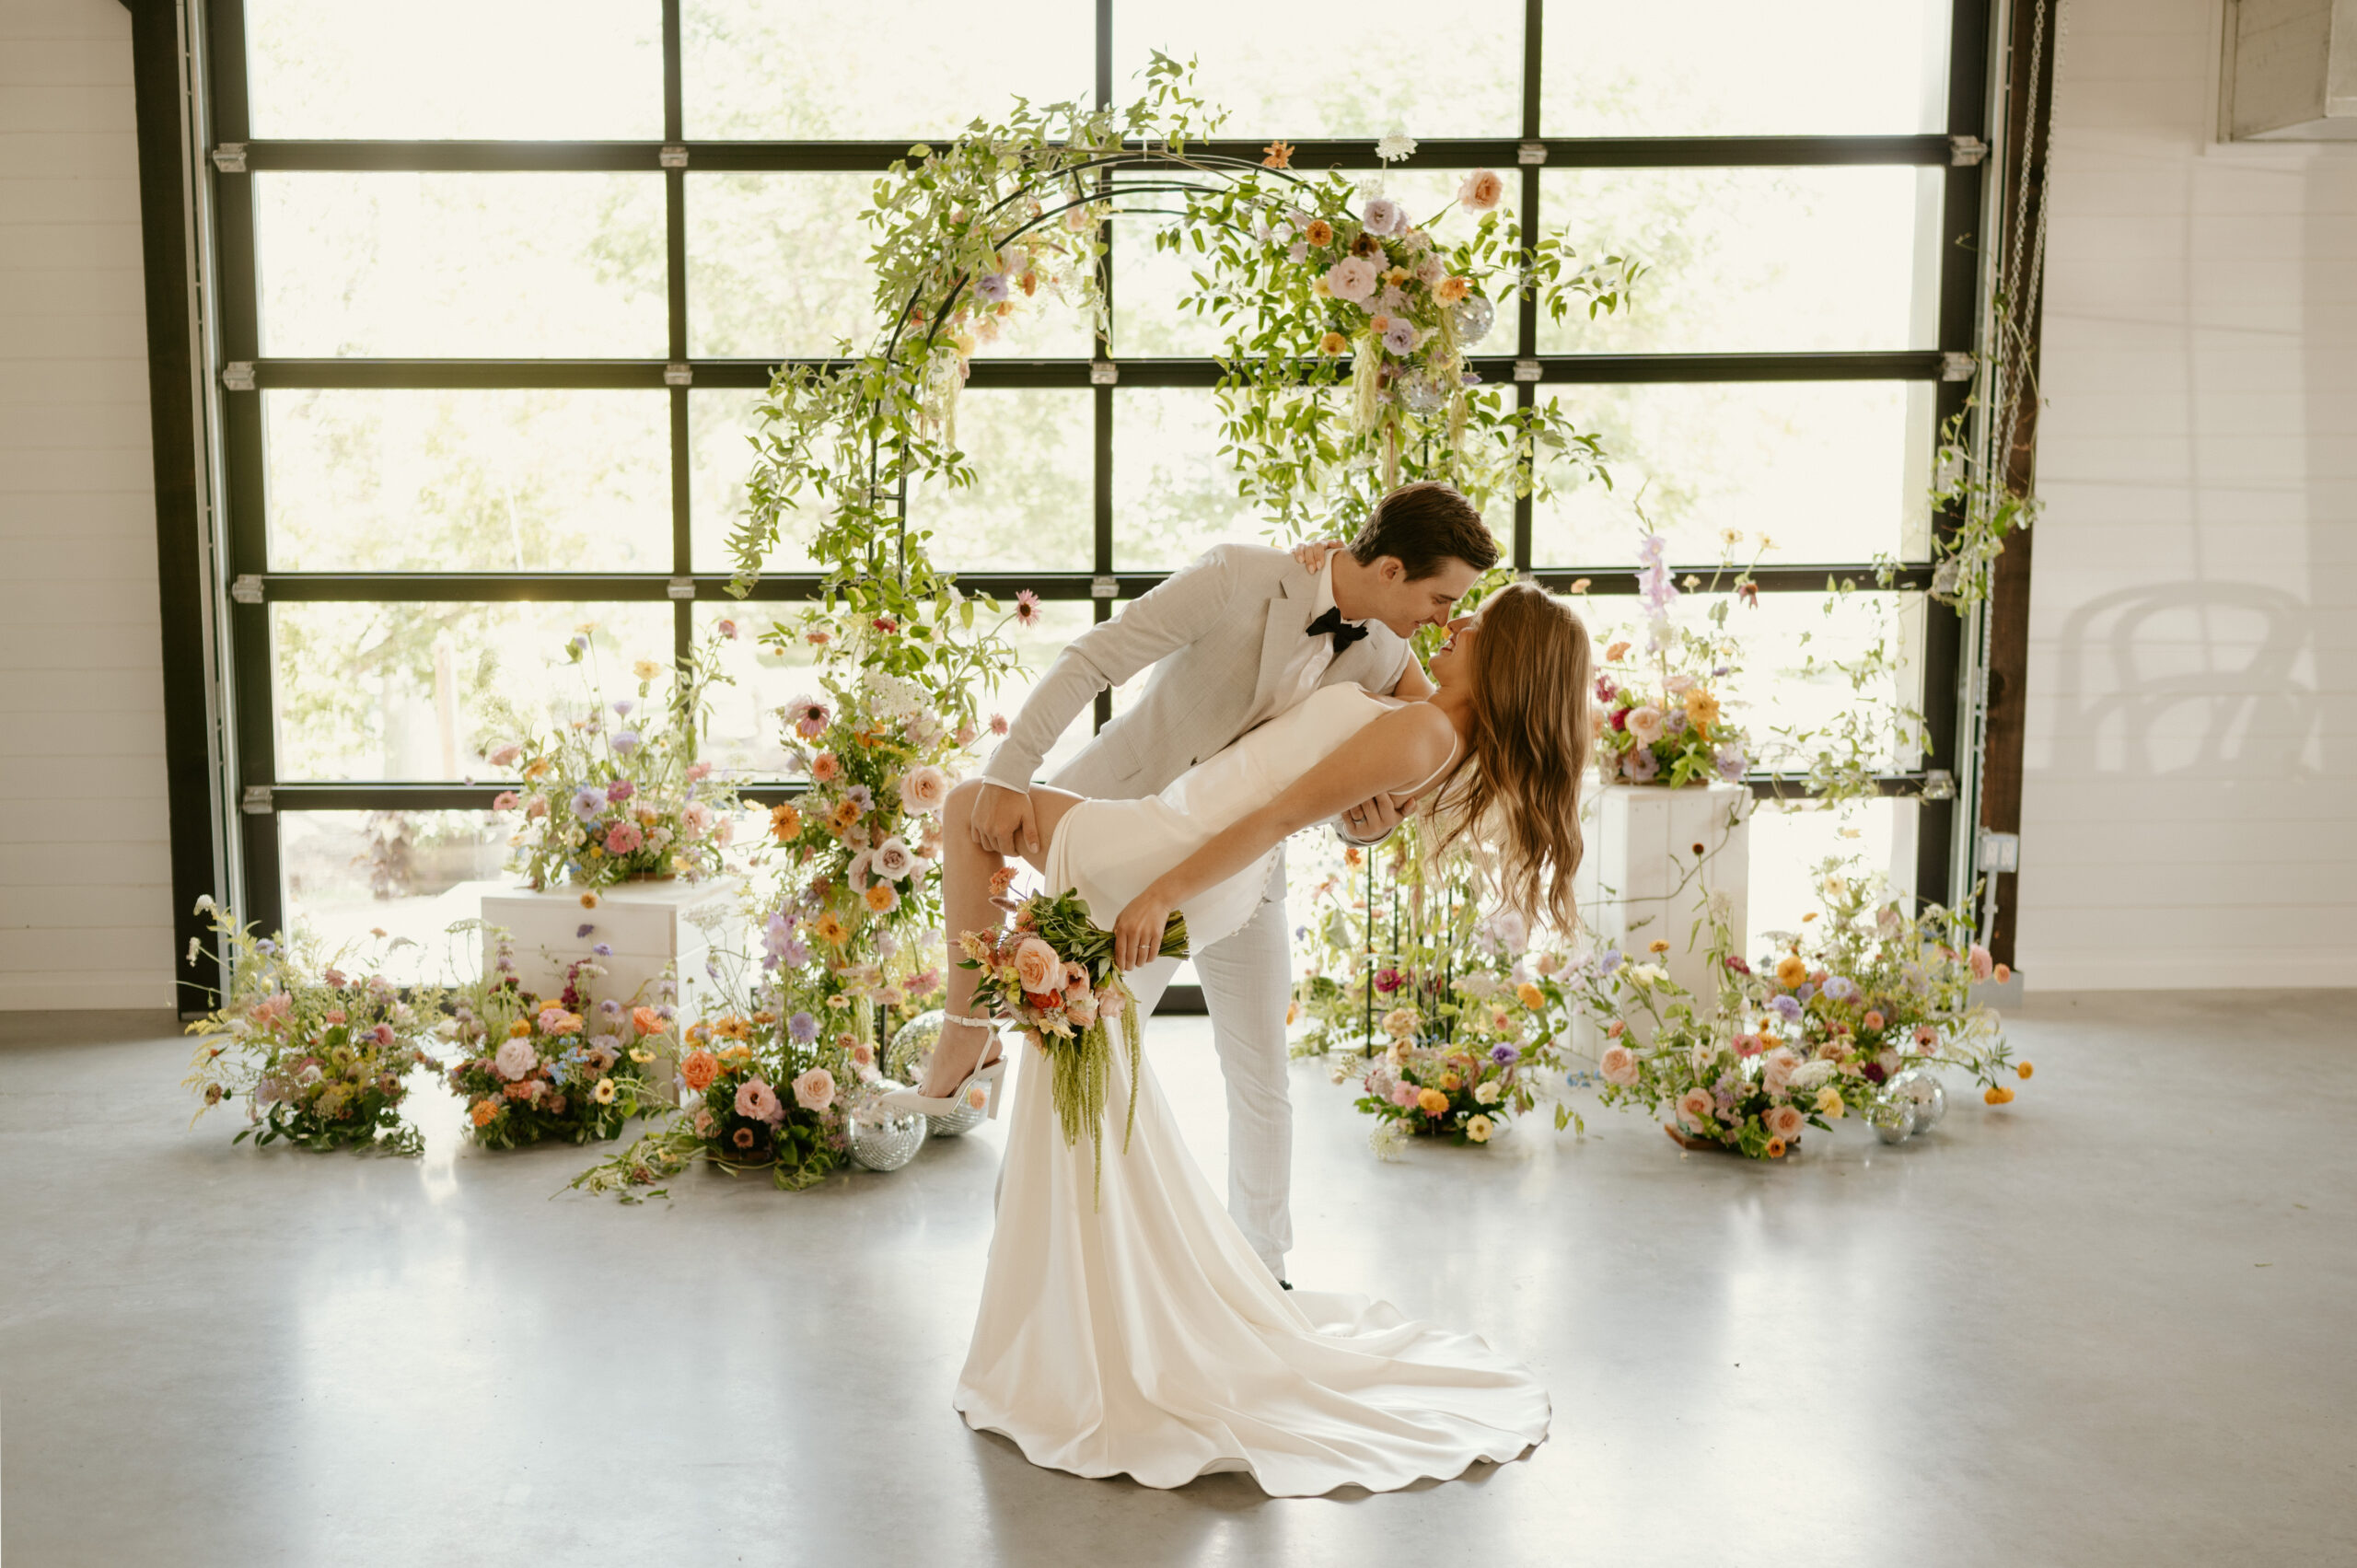
Winnipeg Wedding Venues
Discover the Top 10 Stunning Winnipeg Wedding Venues for 2026
Planning a wedding in Winnipeg? Discover the top 10 stunning venues for 2026 that promise to make your special day unforgettable!
Factors to Consider When Choosing a Wedding Venue
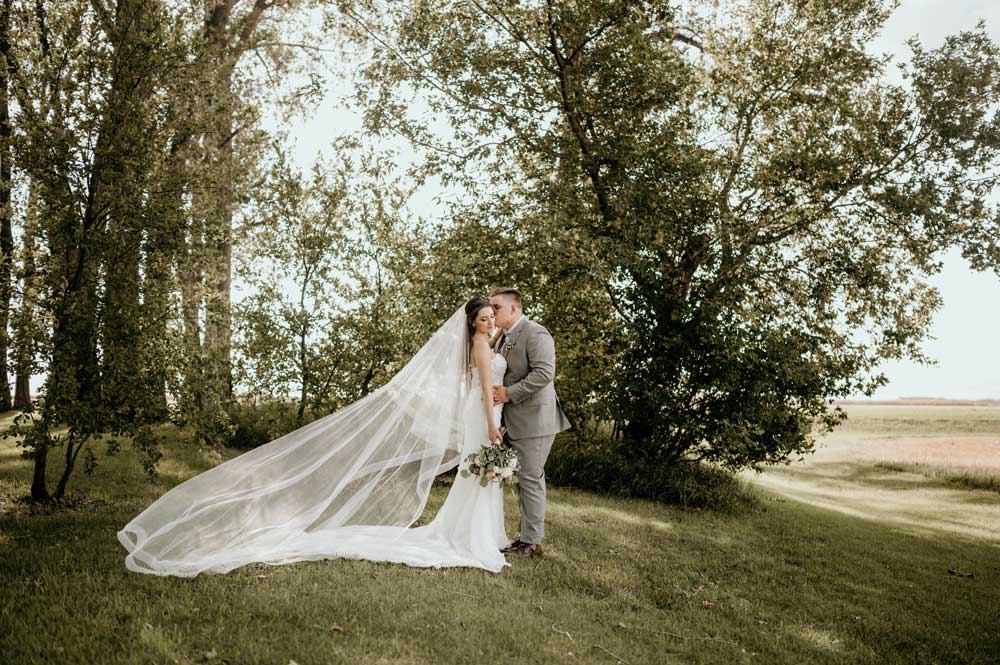
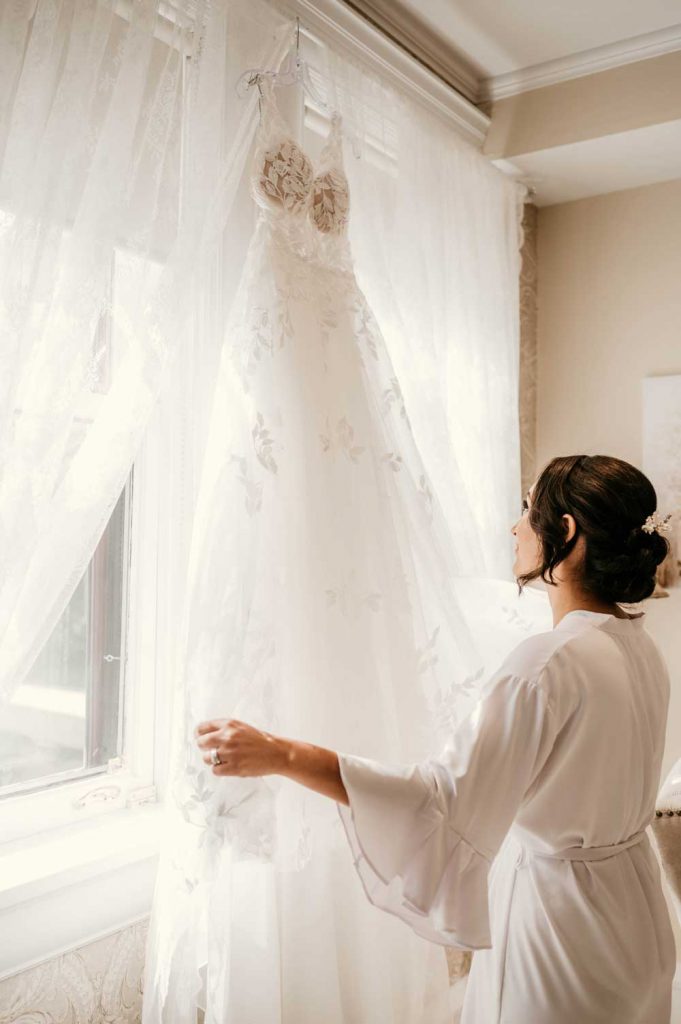
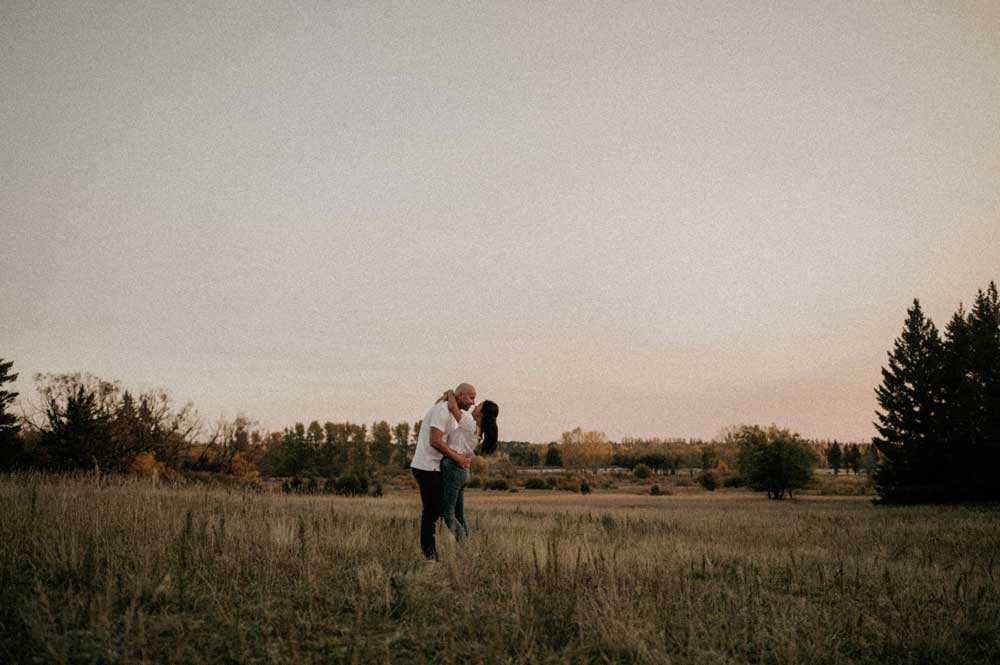
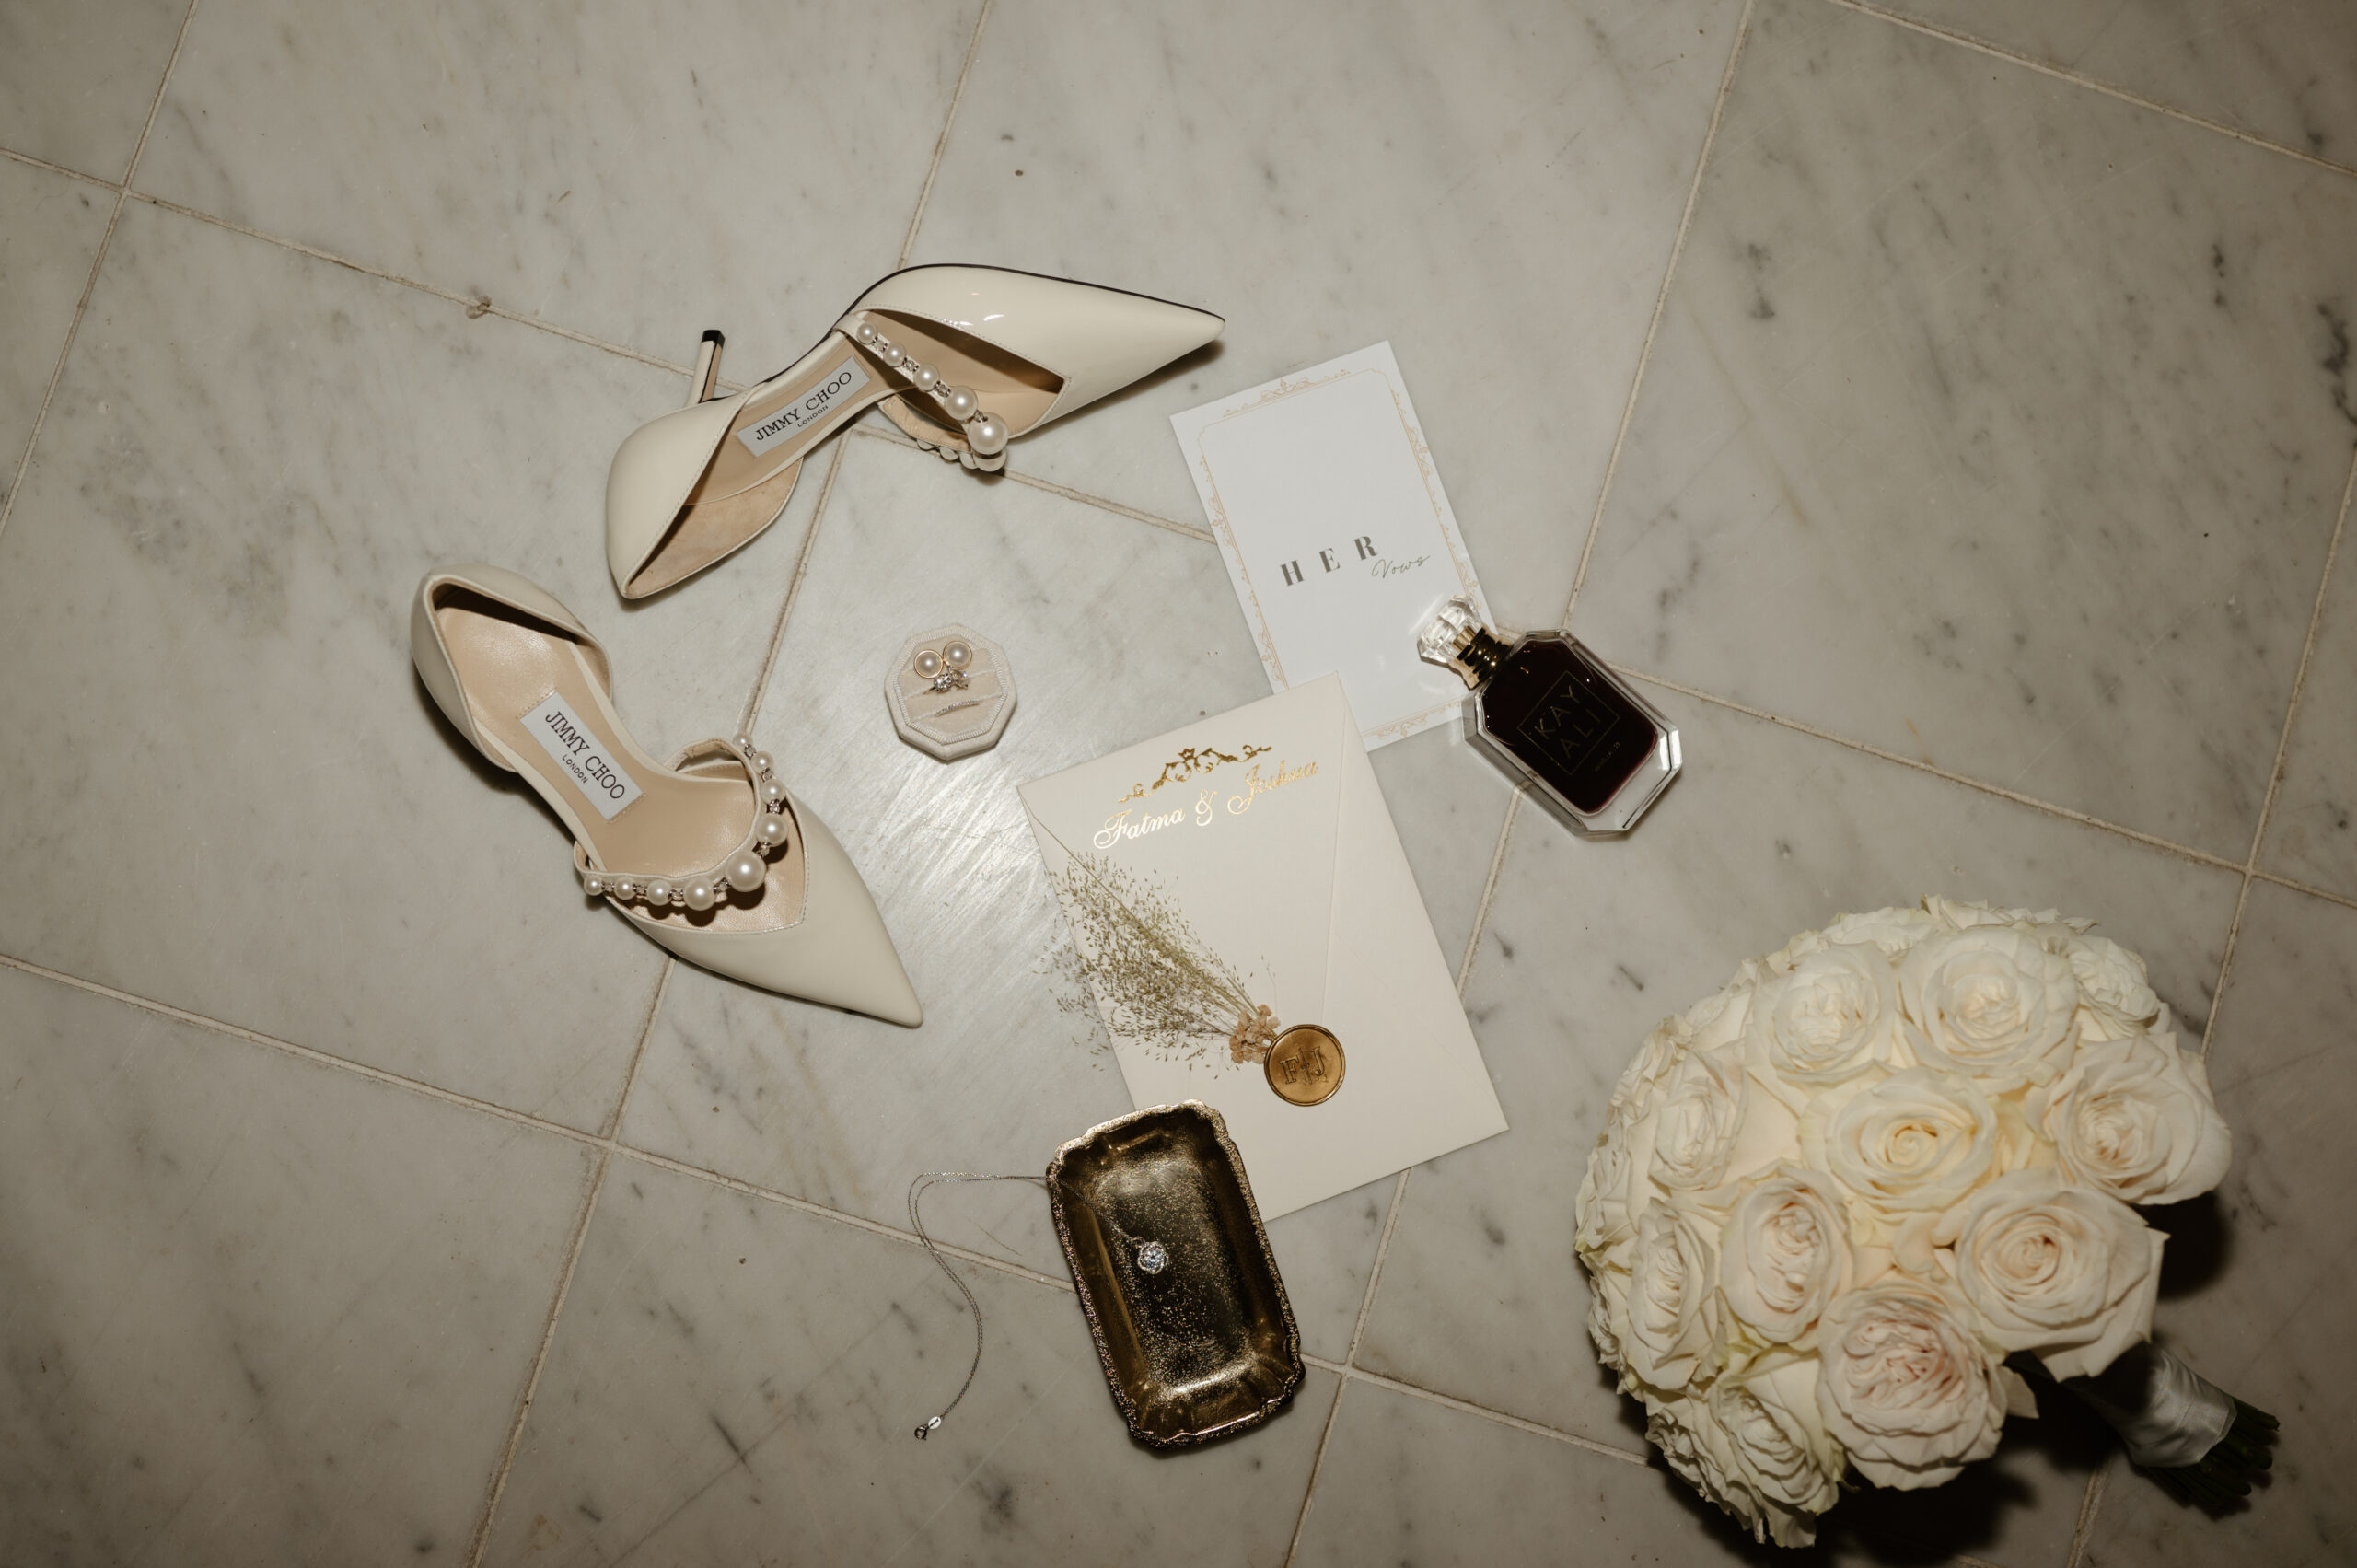
Selecting a wedding venue is one of the most critical decisions you’ll make when planning your big day. The venue sets the tone for the entire event and can significantly influence the overall experience for you and your guests. Therefore, it’s essential to consider a variety of factors to ensure you choose the perfect location. One of the first things to think about is the venue’s capacity. It’s crucial to select a venue that can comfortably accommodate your guest list. Overcrowding can lead to a less enjoyable experience, while a venue that is too large might feel empty and lack intimacy. Make sure to have an estimated guest count before you start your search.
Another important factor is the location of the venue. Consider venues that are easily accessible for your guests, especially if many are coming from out of town. Proximity to hotels, airports, and other amenities can make your wedding more convenient and enjoyable for everyone. Additionally, think about the logistics of transportation and parking. Some venues offer on-site parking, while others might require guests to park off-site and use shuttle services.
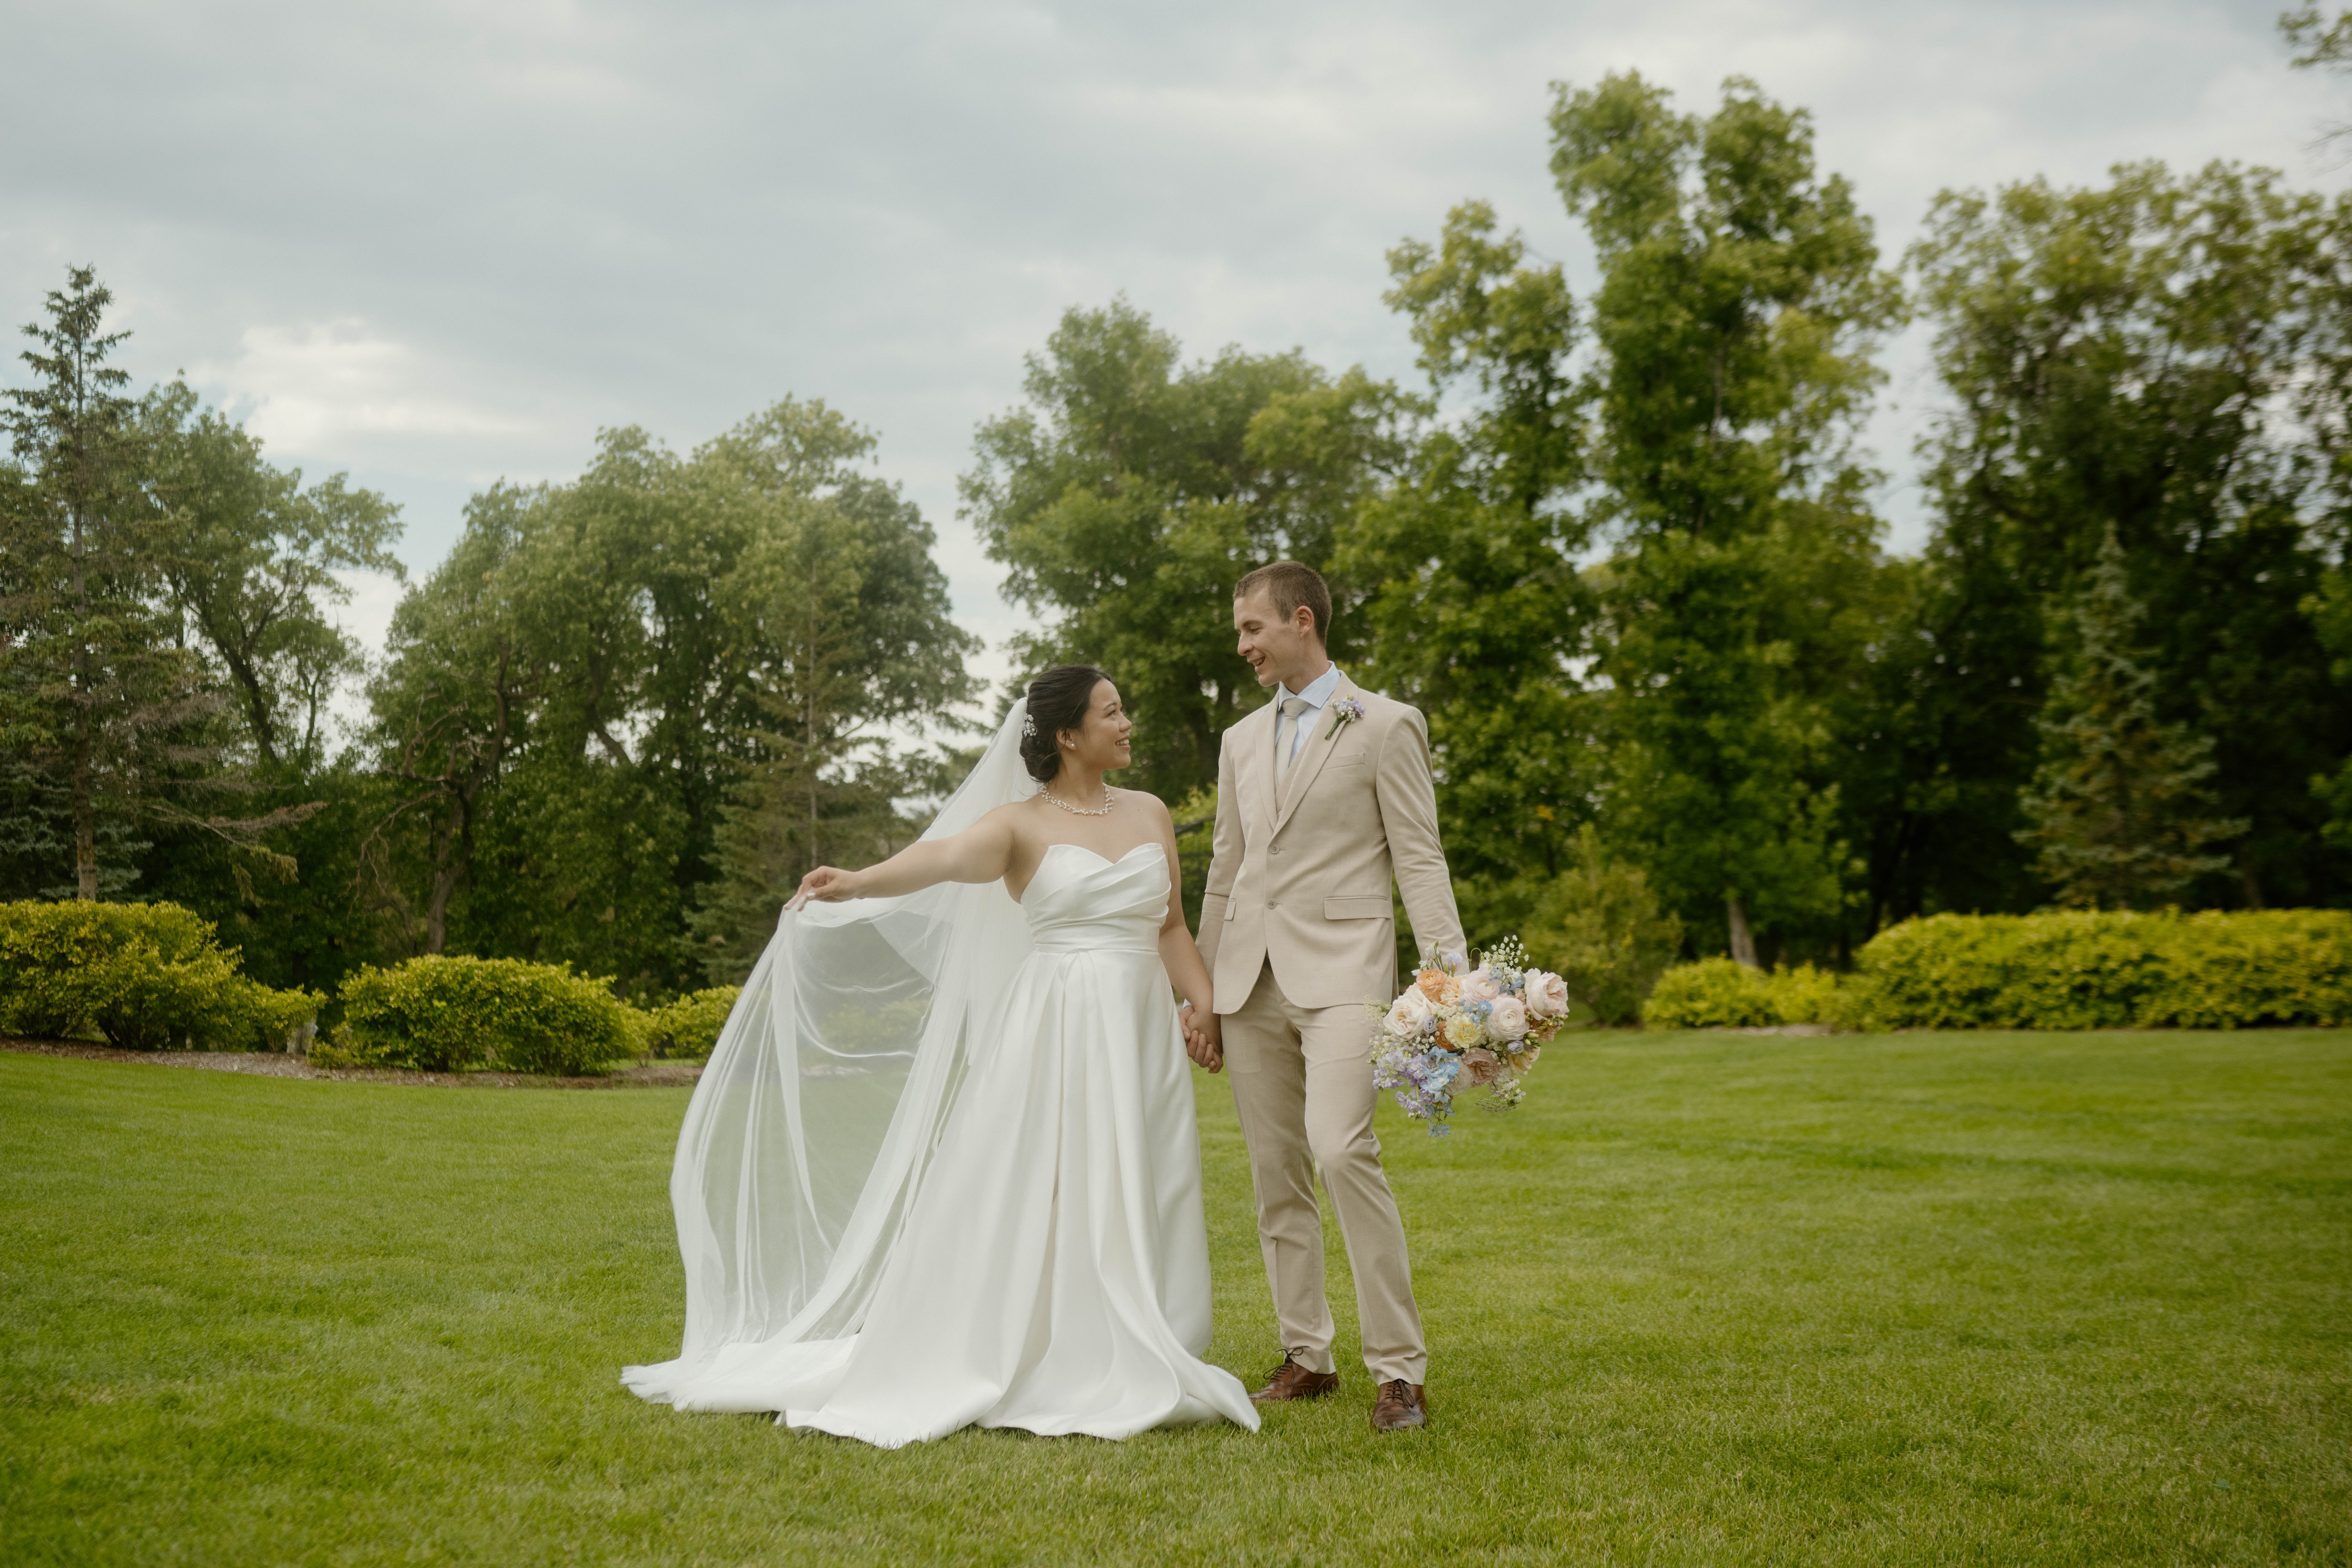
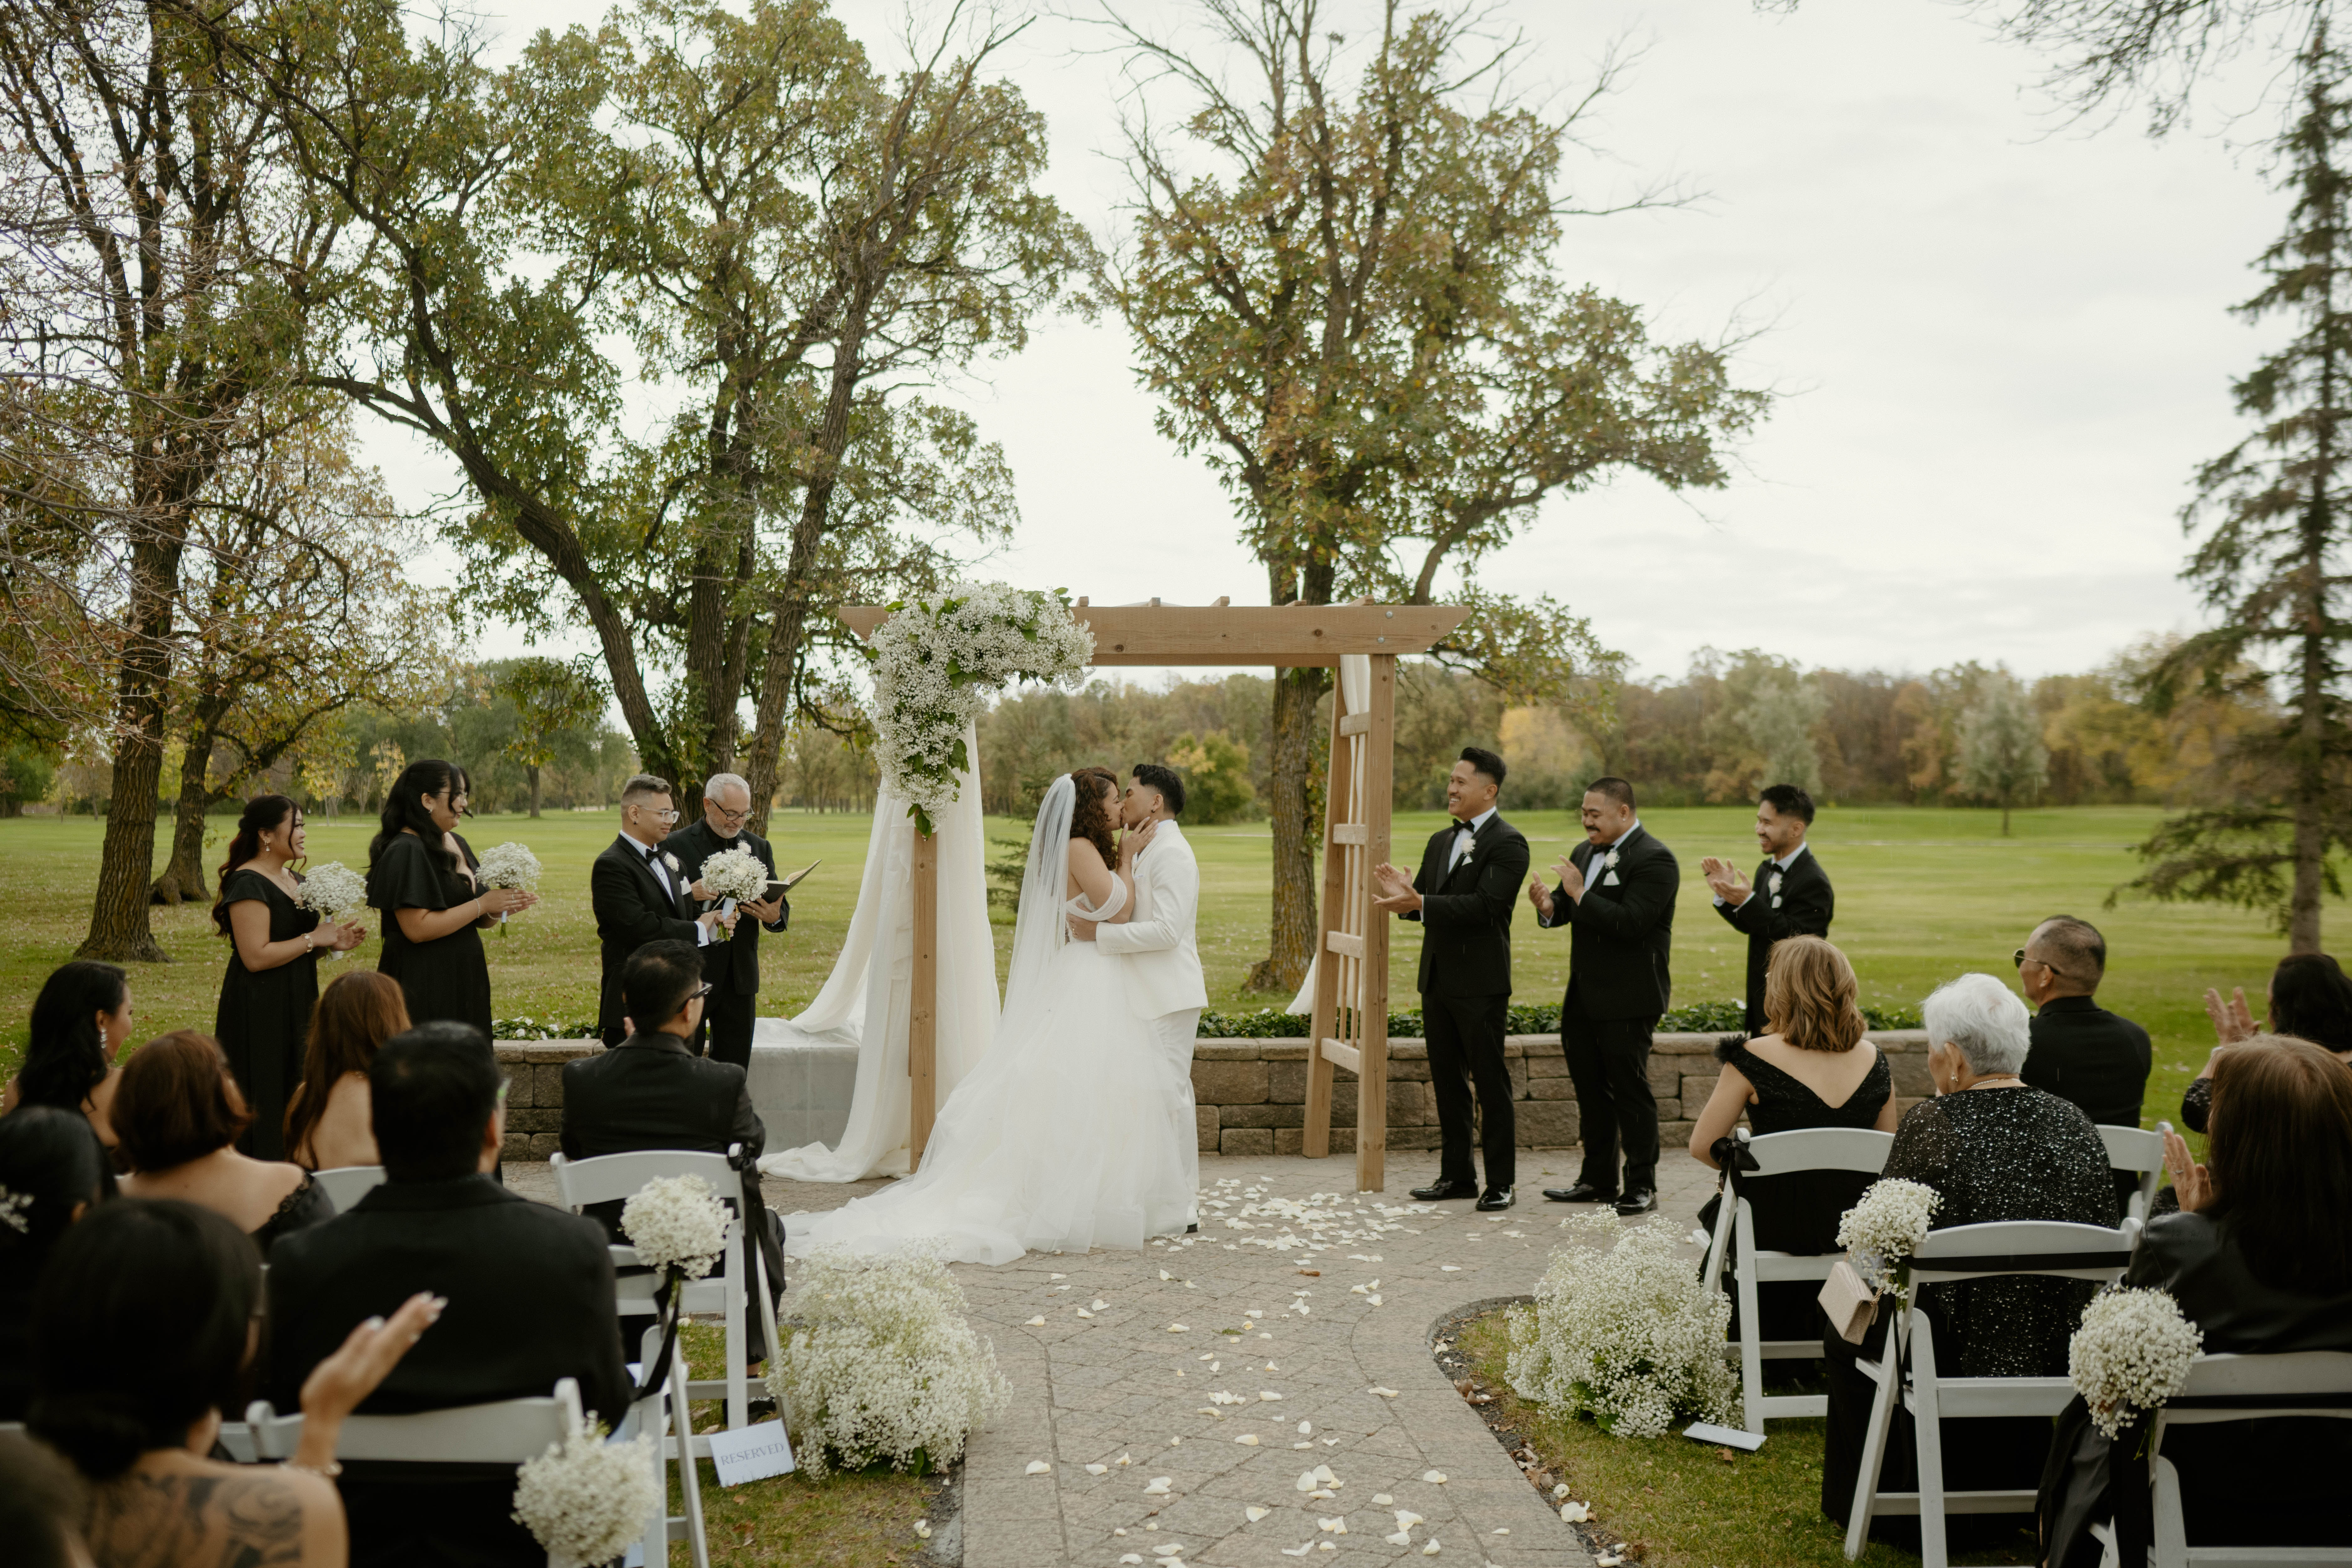
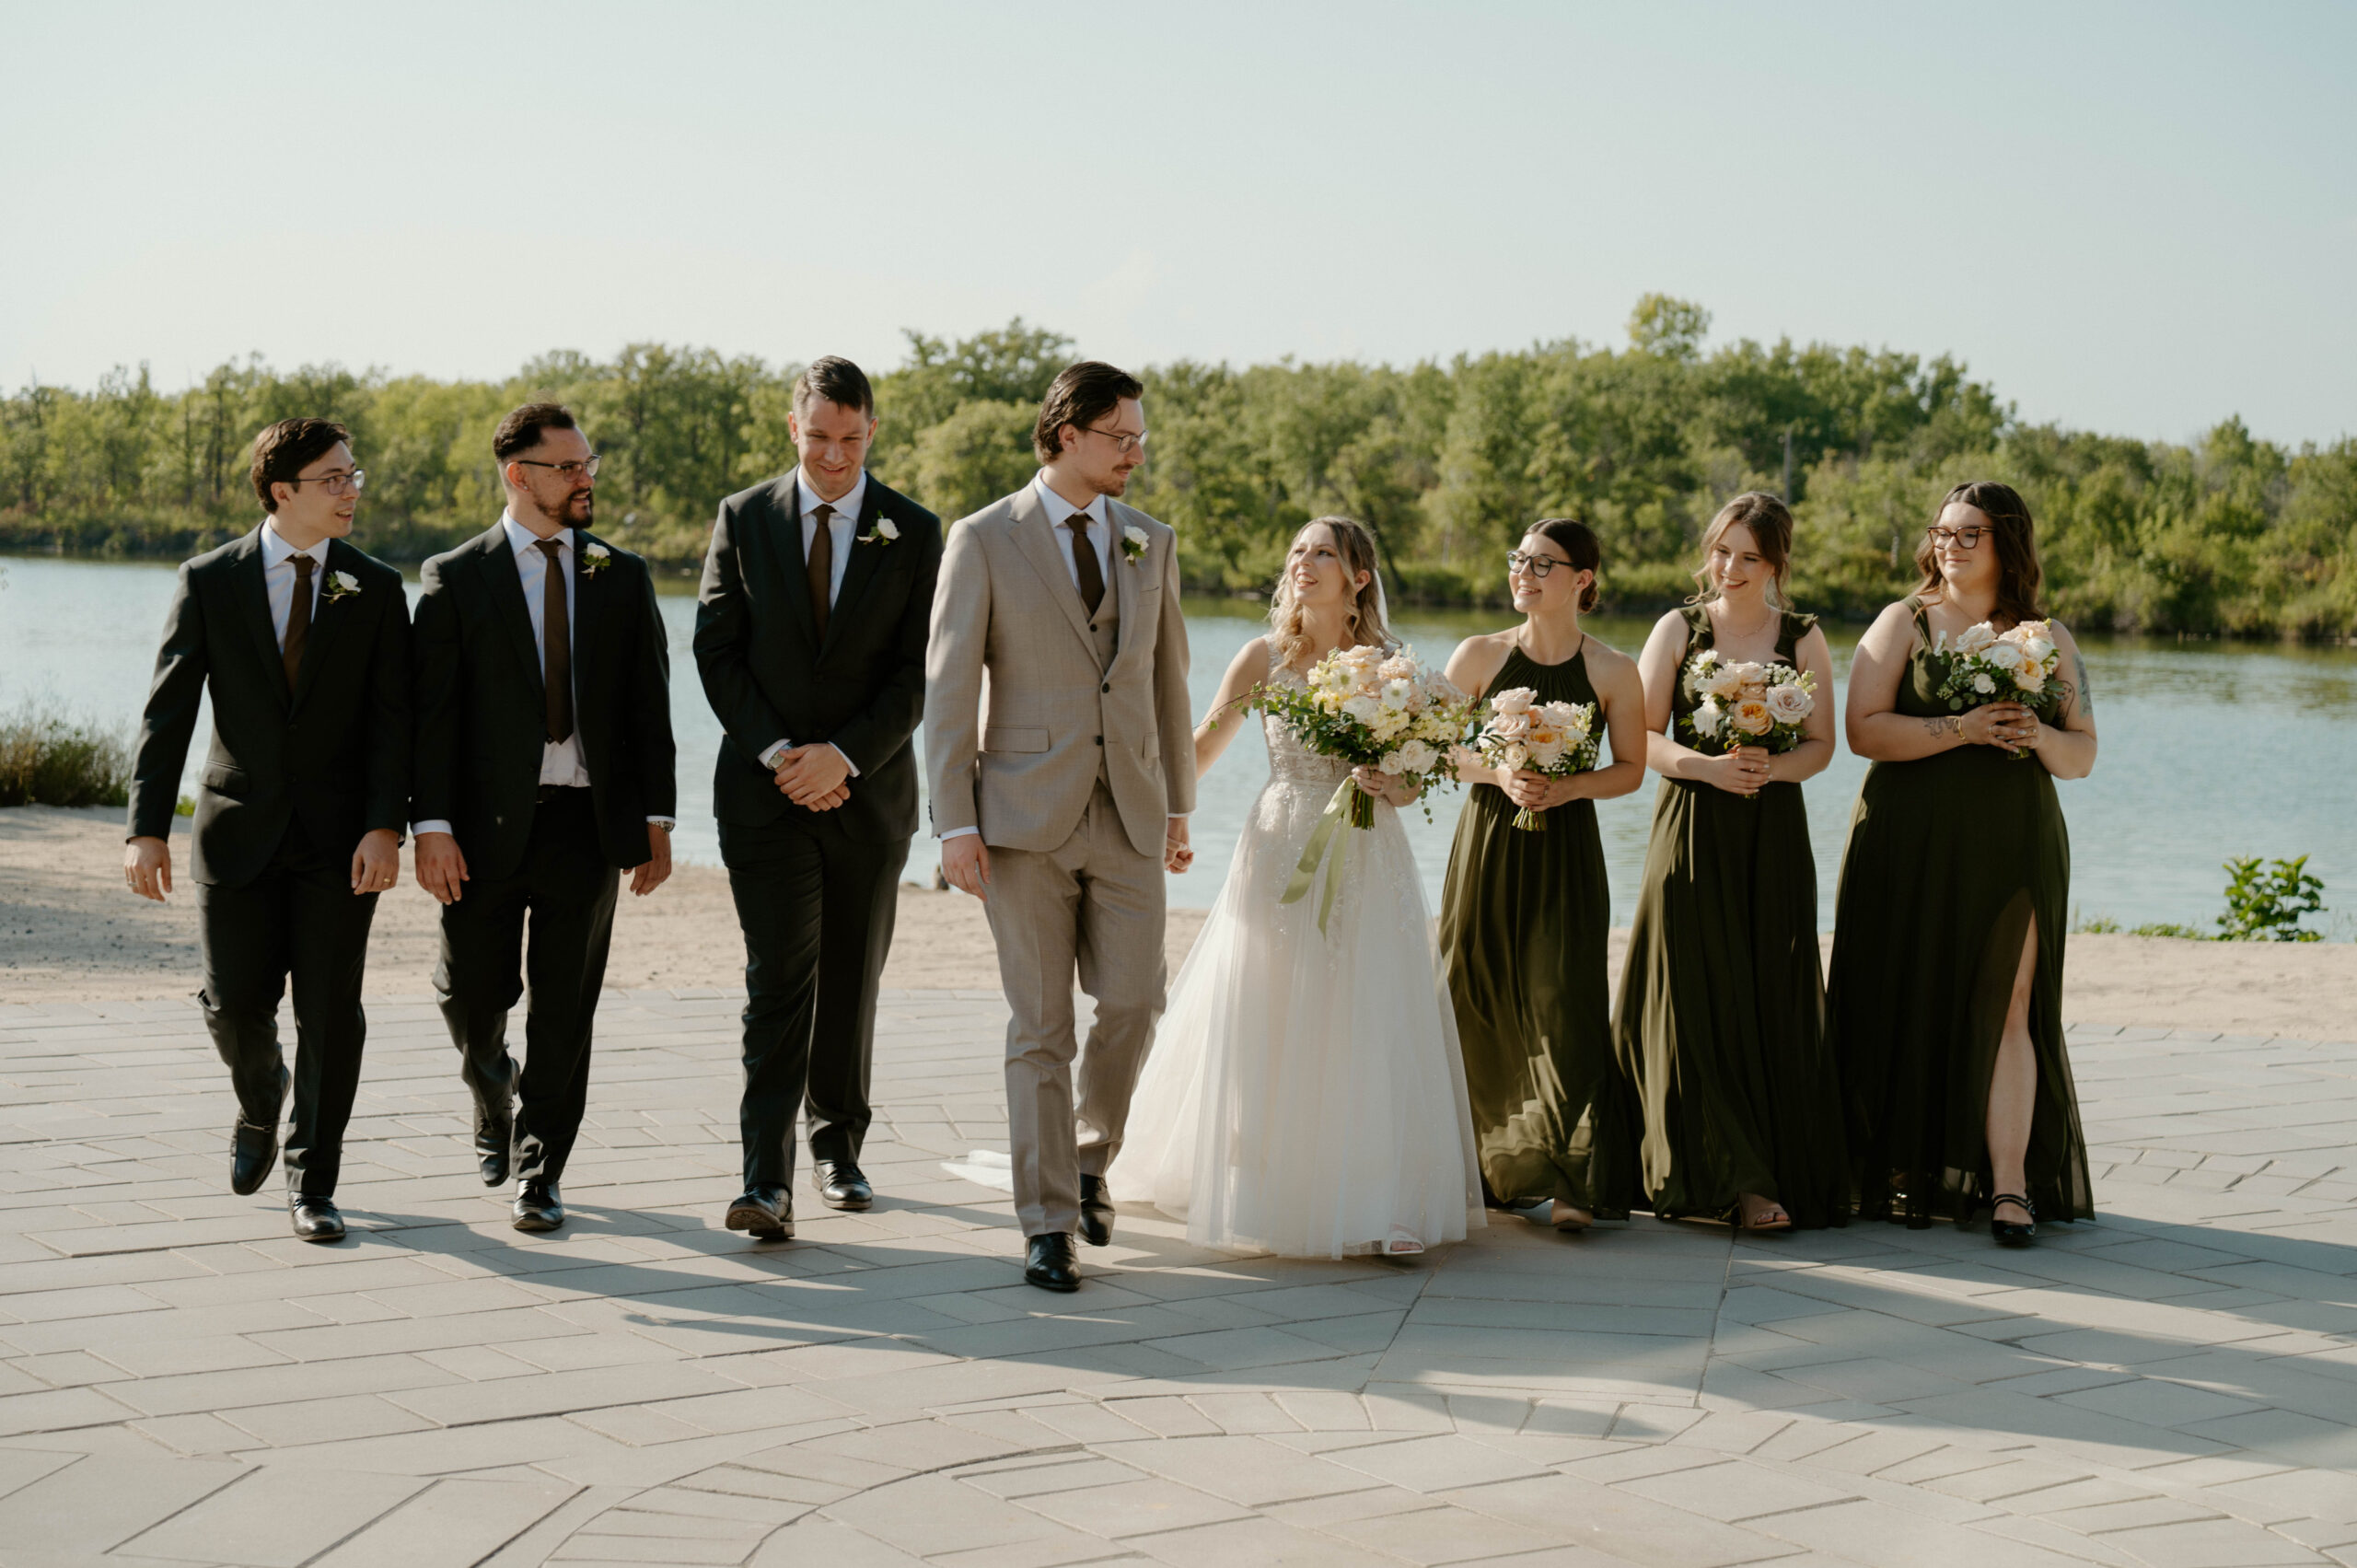
The ambiance and style of the venue should also align with your wedding theme and personal preferences. Whether you envision a romantic garden wedding, a sophisticated ballroom affair, or a rustic barn celebration, the venue should reflect your vision. Take time to visit each site, observe its charm, and imagine how it will look on your wedding day. Also, consider the available amenities and services, such as catering, decorations, and technical support. Some venues offer comprehensive packages, while others allow you to bring in your own vendors.
#1 Lily Stone Gardens
Nestled about 40 minutes south of Winnipeg on a charming flower farm, Lily Stone Gardens offers couples a dreamy three-season garden-inspired wedding venue surrounded by colourful blooms and natural beauty. The venue includes a 3,600 sq ft reception space with indoor amenities and multiple outdoor ceremony sites set among flower gardens and rustic landscapes, giving your photos both intimate and expansive backdrops. With an open vendor policy and optional on-site floral and catering through their associated café, couples can customize their celebration while taking full advantage of its picturesque prairie setting — ideal for lifestyle-rich wedding photography.
Positives:
• Spacious Reception area
• Flowers Included
#2 White Poplar
Just north of Winnipeg, The White Poplar is set on 70 acres of tranquil prairie and woodland, offering couples a beautifully secluded venue with a rustic yet refined atmosphere. Its landscaped grounds and greenhouse provide a mix of textured backdrops — from tree-lined ceremony spots to open fields perfect for sunset portraits. The venue has back up rain options as well as some beautiful photo areas. If you’re planning a wedding 1.5 to 2 years in advance then they might just be available!
Positives:
- Multiple Ceremony Locations and photography spots around the property
- High Quality, Well Built
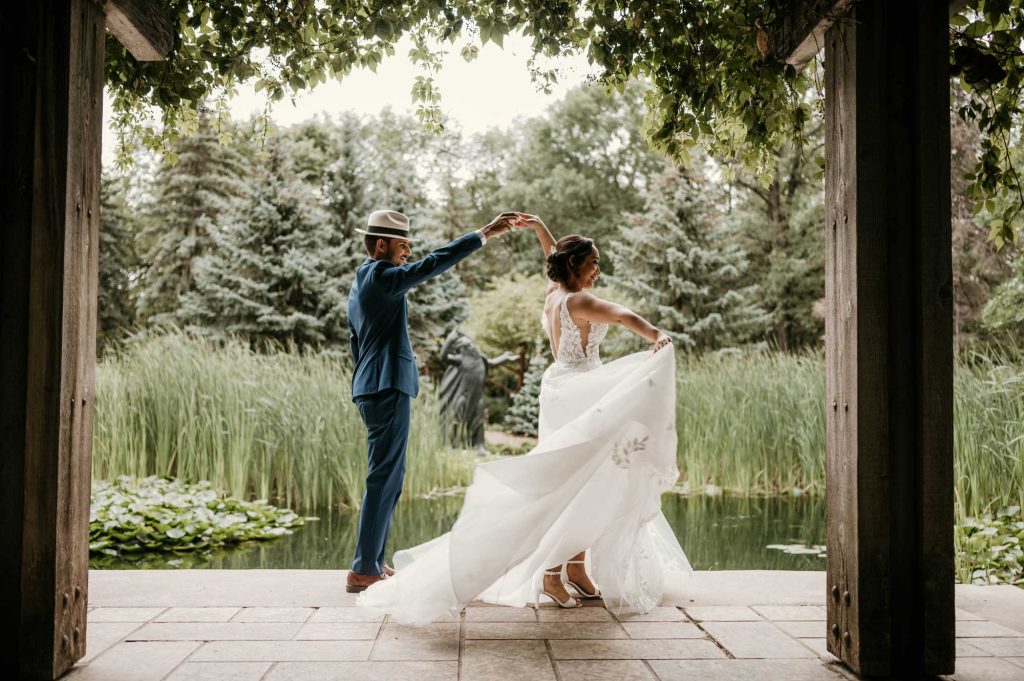
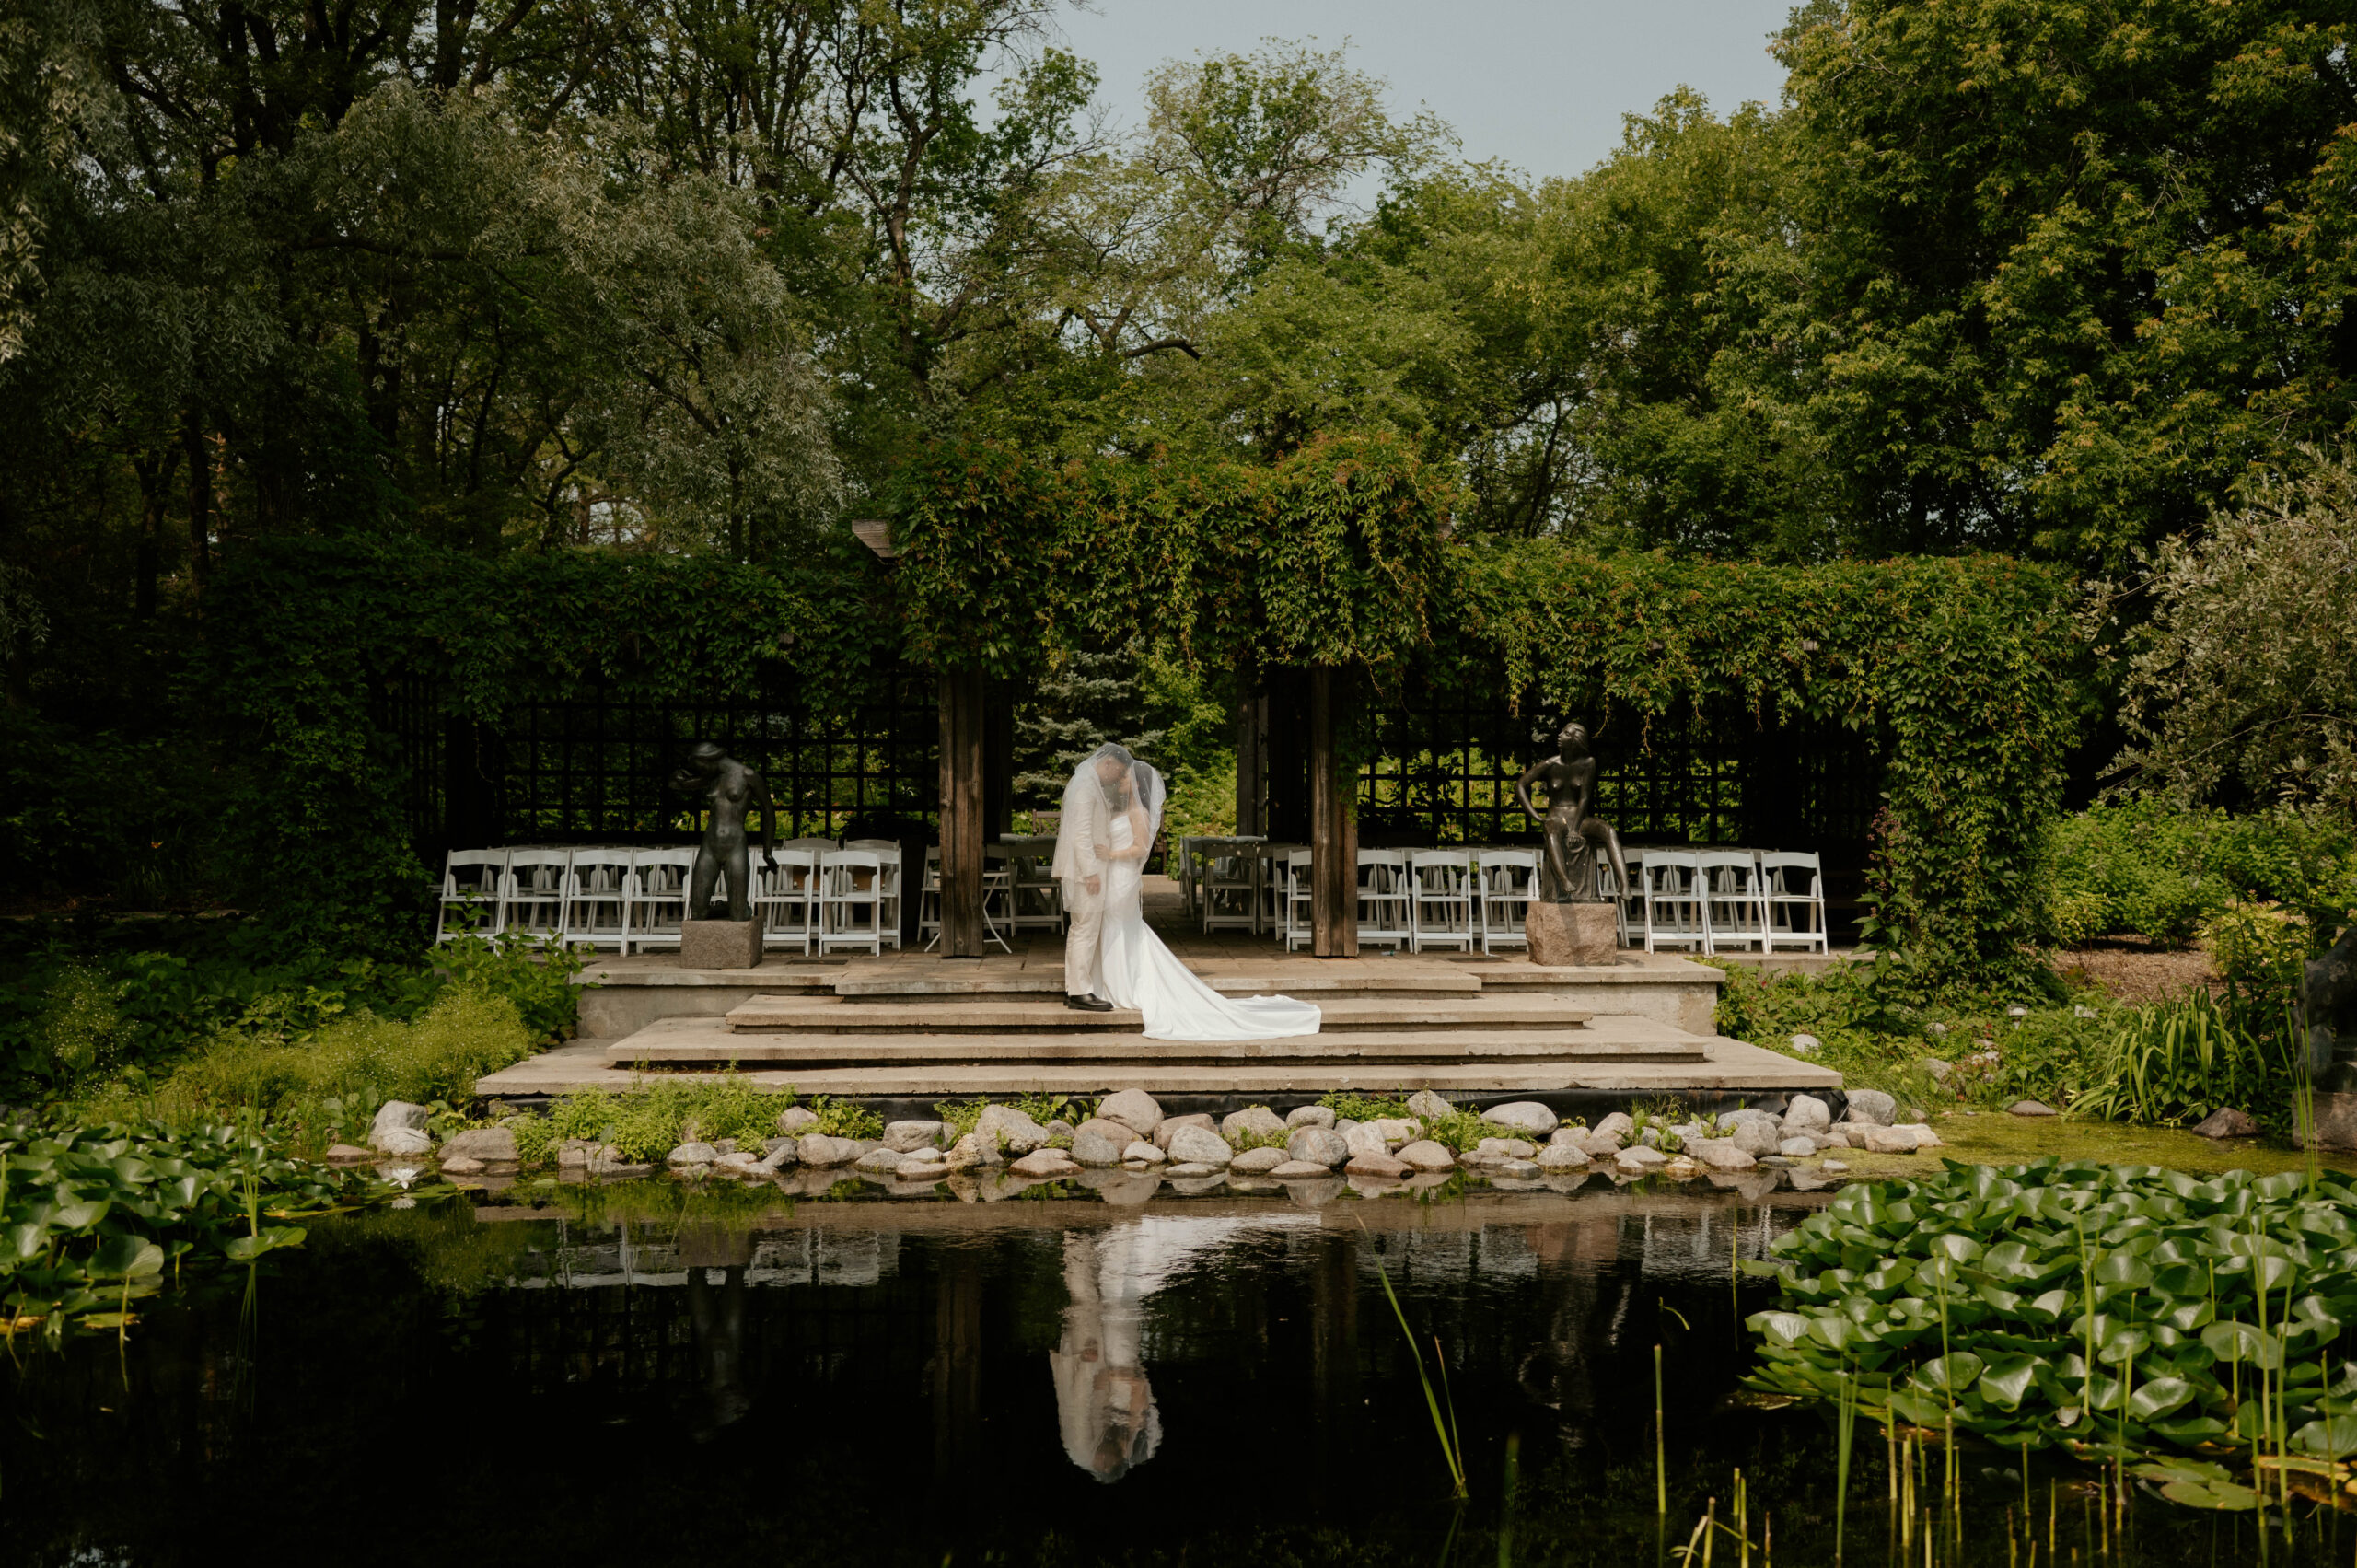
#3 Pine Ridge Hollow
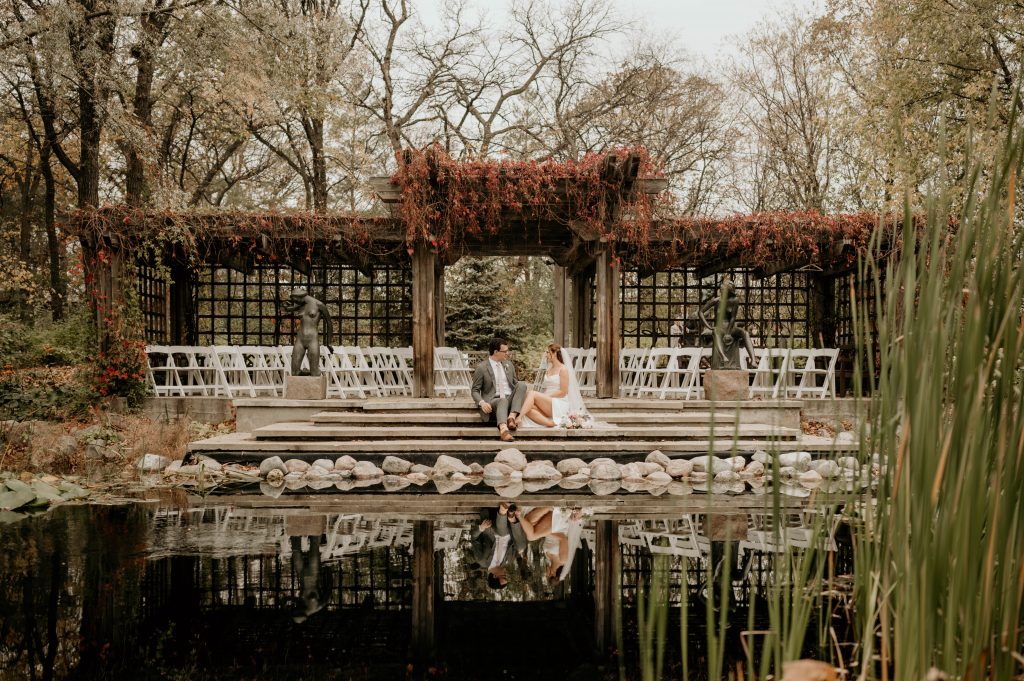
Just minutes from Winnipeg, Pineridge Hollow offers a unique blend of forest, garden, and tented reception spaces for couples seeking a more organic wedding vibe. Surrounded by trees and garden features, ceremonies can take place under a pergola, beside a pond, or in a woodland enclosure — all offering distinct natural backdrops that photograph beautifully any time of year. The reception tent and courtyard with string lighting give you a versatile canvas that’s both relaxed and elegant.
Positives:
• Amazing Photo options in Birds Hill
• Food
#4 Willow Acres
Set on 15 acres of manicured land in Southern Manitoba, Willow Acres blends timeless elegance with serene rural surroundings. The indoor reception space features abundant natural light, chandeliers, and flexible layouts, while outdoor ceremony options — including a covered porch overlooking sunsets or a pond — add variety to your wedding photo story. Its combination of spacious grounds and thoughtfully designed interiors makes it easy to capture both romantic portraits and lively moments throughout the day.
Positives:
• New Building
• Capacity for all your guests

#5 Hawthorn Estates
About 25 minutes from Winnipeg, Hawthorn Estates combines rustic charm with modern amenities on a property of roughly five acres. The venue’s barn space is fully air-conditioned and heated, with lounge areas, bridal suites, and a mezzanine level adding depth to both the guest experience and your photography opportunities. Outdoor spaces like “Marriage Hill” and scenic walkways enhance your wedding story, while the property’s thoughtful design ensures comfort year-round.
Positives:
• Versatile indoor + outdoor ceremony and reception spaces
• Experienced with Weddings
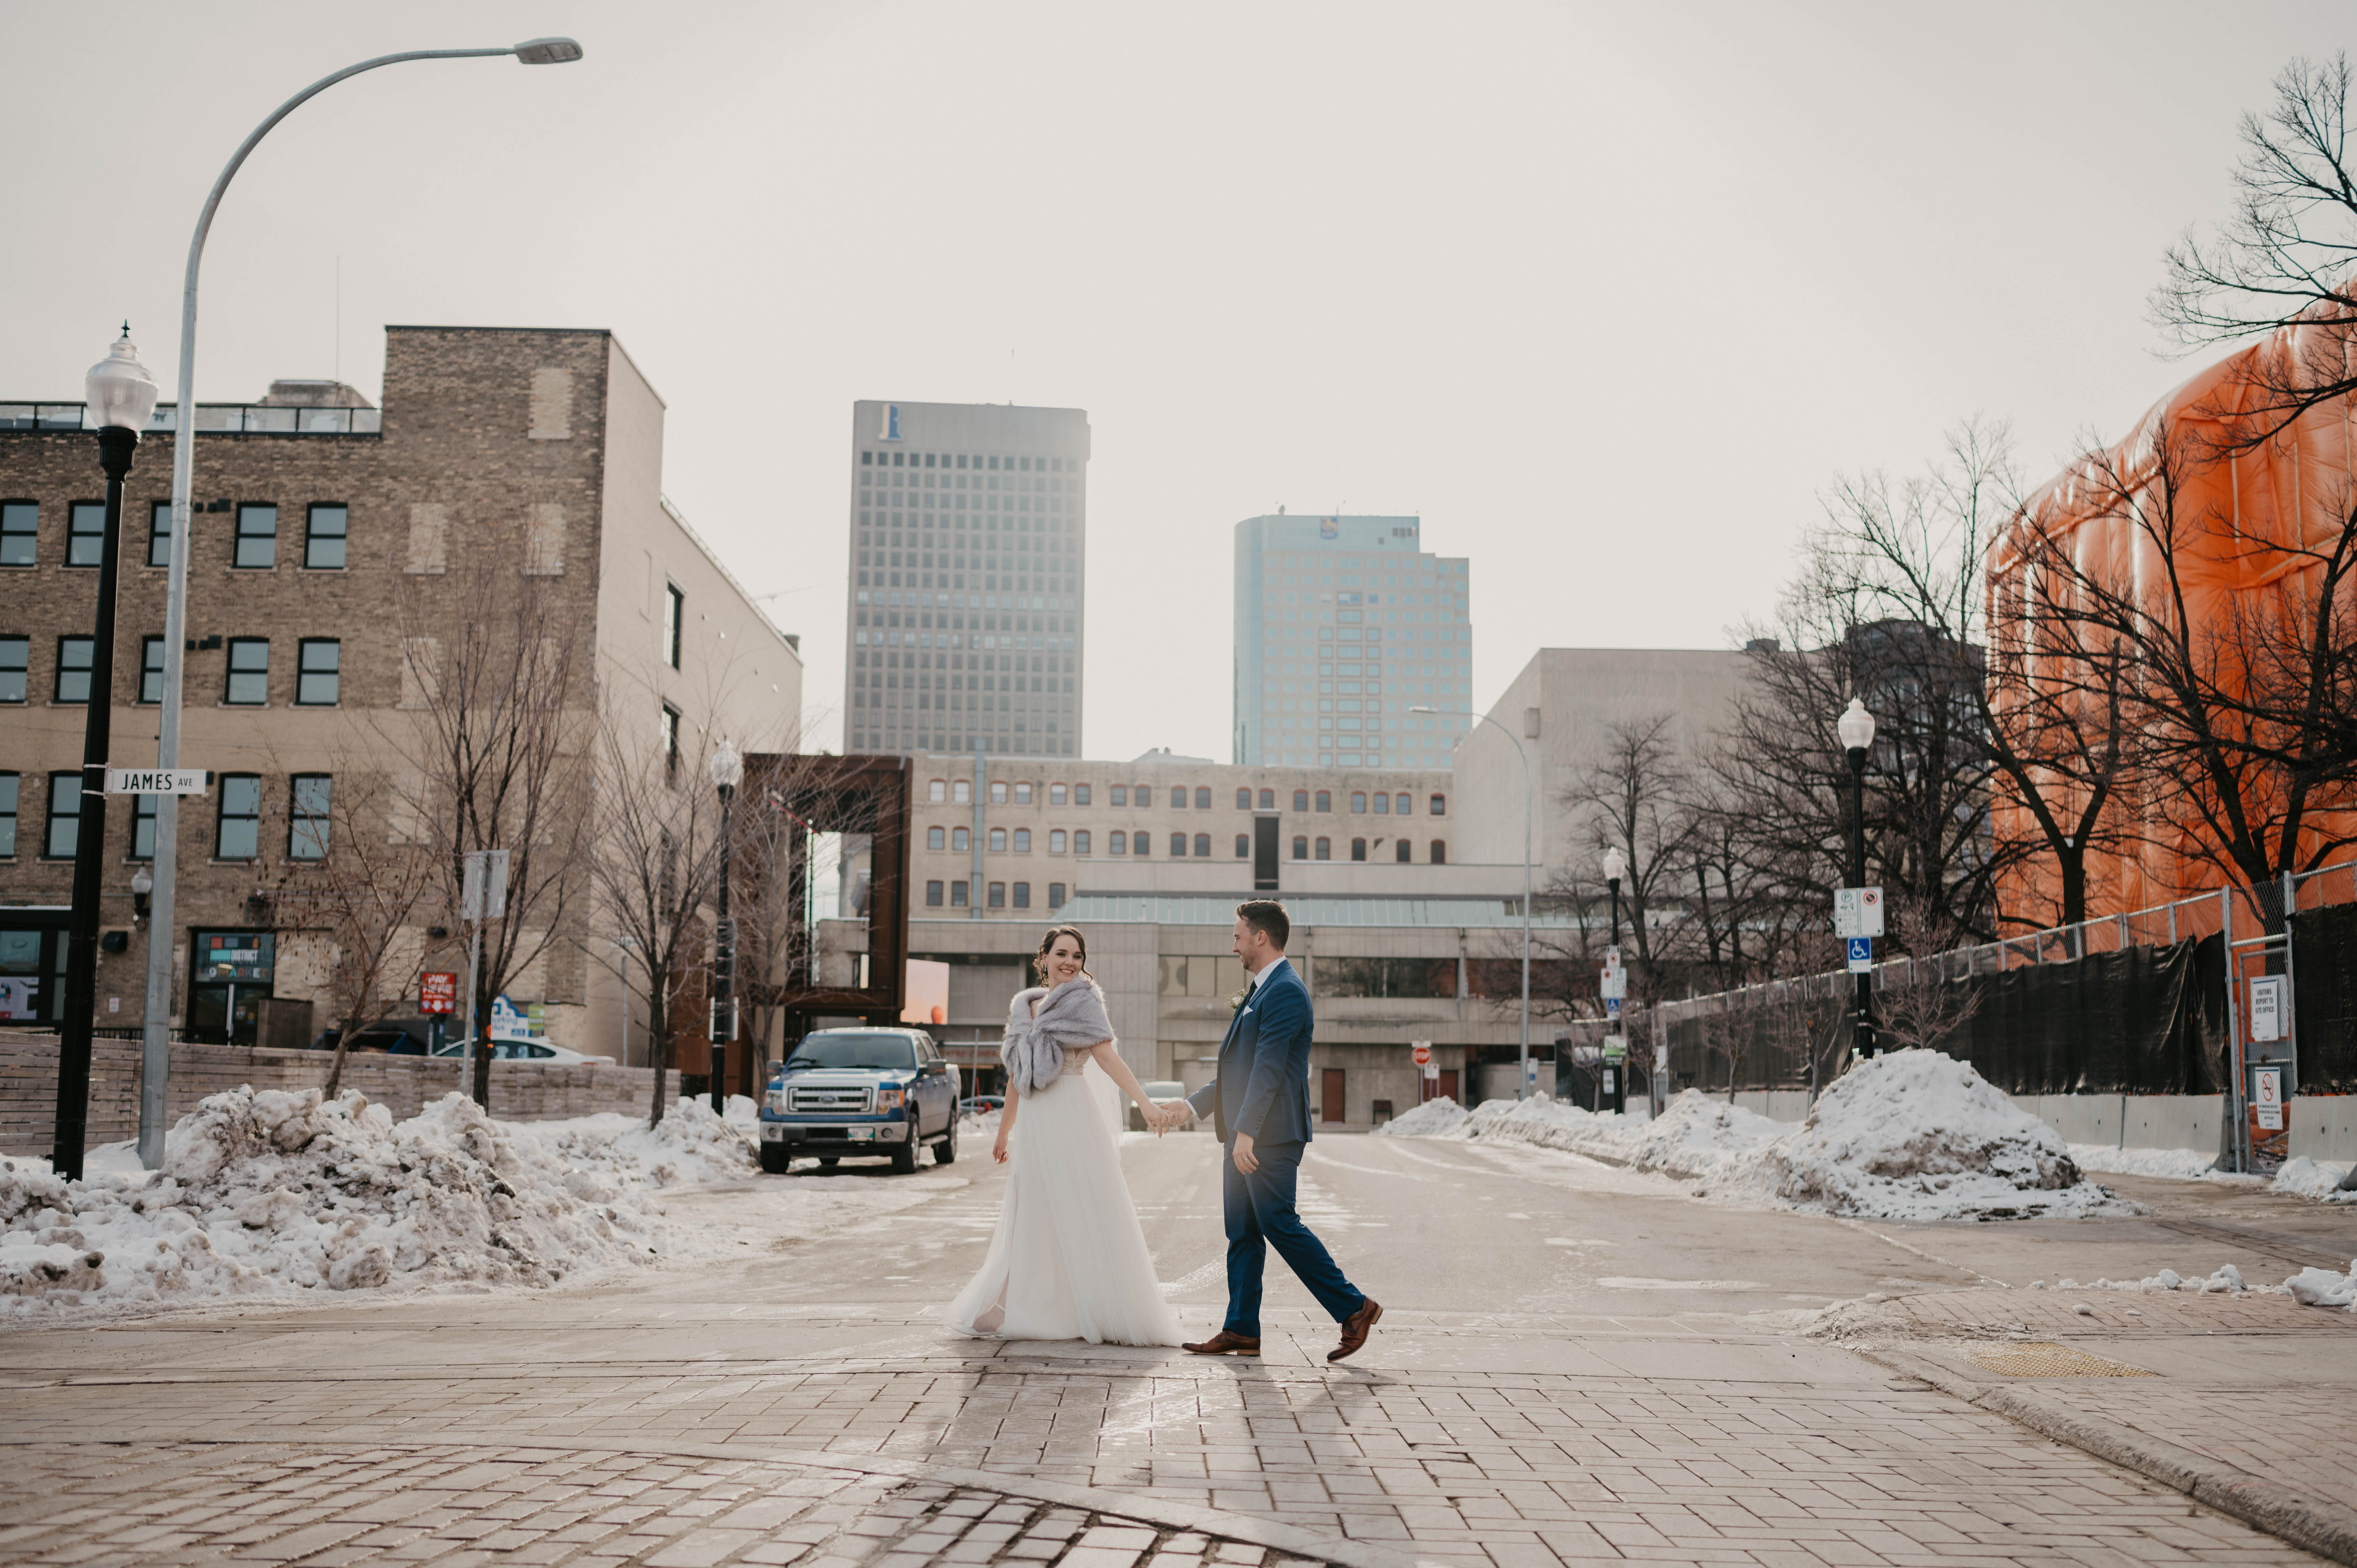
#6 Fort Garry Hotel
A classic choice right in downtown Winnipeg, The Fort Garry Hotel is a historic landmark known for its grand ballrooms, timeless architecture, and luxurious service. Couples can choose from multiple elegant event spaces — from the ornate Provencher Ballroom to intimate salons — to suit weddings of many sizes. The hotel also includes accommodation for guests and a wedding night stay for the couple, making it especially appealing for urban celebrations and multi-day events.
Positives:
• Iconic heritage architecture and elegant ballrooms
• On-site accommodation for couples and guests
#7 Gates On Roblin
The Gates on Roblin is a luxurious wedding venue tucked along the serene banks of the Assiniboine River just west of Winnipeg, known for its grand Grand Ballroom with soaring ceilings, ample natural light, and scenic private grounds that create a stunning backdrop for ceremonies, portraits, and receptions. Couples can choose from several outdoor ceremony spots — including a landscaped lower lawn, intimate courtyard with garden features, or the riverside deck overlooking mature treelines — all of which deliver beautiful, dynamic photo opportunities for every season. Inside, the refined space, elegant décor, and dedicated event staff help weddings run smoothly, while guests often rave about the impeccable service and exquisite catering.
Positives:
• Riverside views and versatile indoor & outdoor spaces
• Exceptional service and elevated banquet experience
#8 Breezy Bend Golf Course
Breezy Bend Golf Course & Country Club, located near Headingley just outside Winnipeg, offers couples a picturesque setting surrounded by lush fairways, mature trees, and rolling greens — ideal for daytime ceremonies, receptions, and portraits framed by nature. While it’s well-known as a premier golf facility, its clubhouse and outdoor spaces also work beautifully for weddings, especially for couples who want a relaxed yet refined atmosphere with plenty of scenic photo spots that take advantage of the wide open landscape. Its reputation for quality service and enjoyable clubhouse environment brings both elegance and a welcoming community feel to wedding celebrations.
Positives:
• Natural, verdant backdrop for ceremonies and portraits
• Comfortable clubhouse spaces for receptions
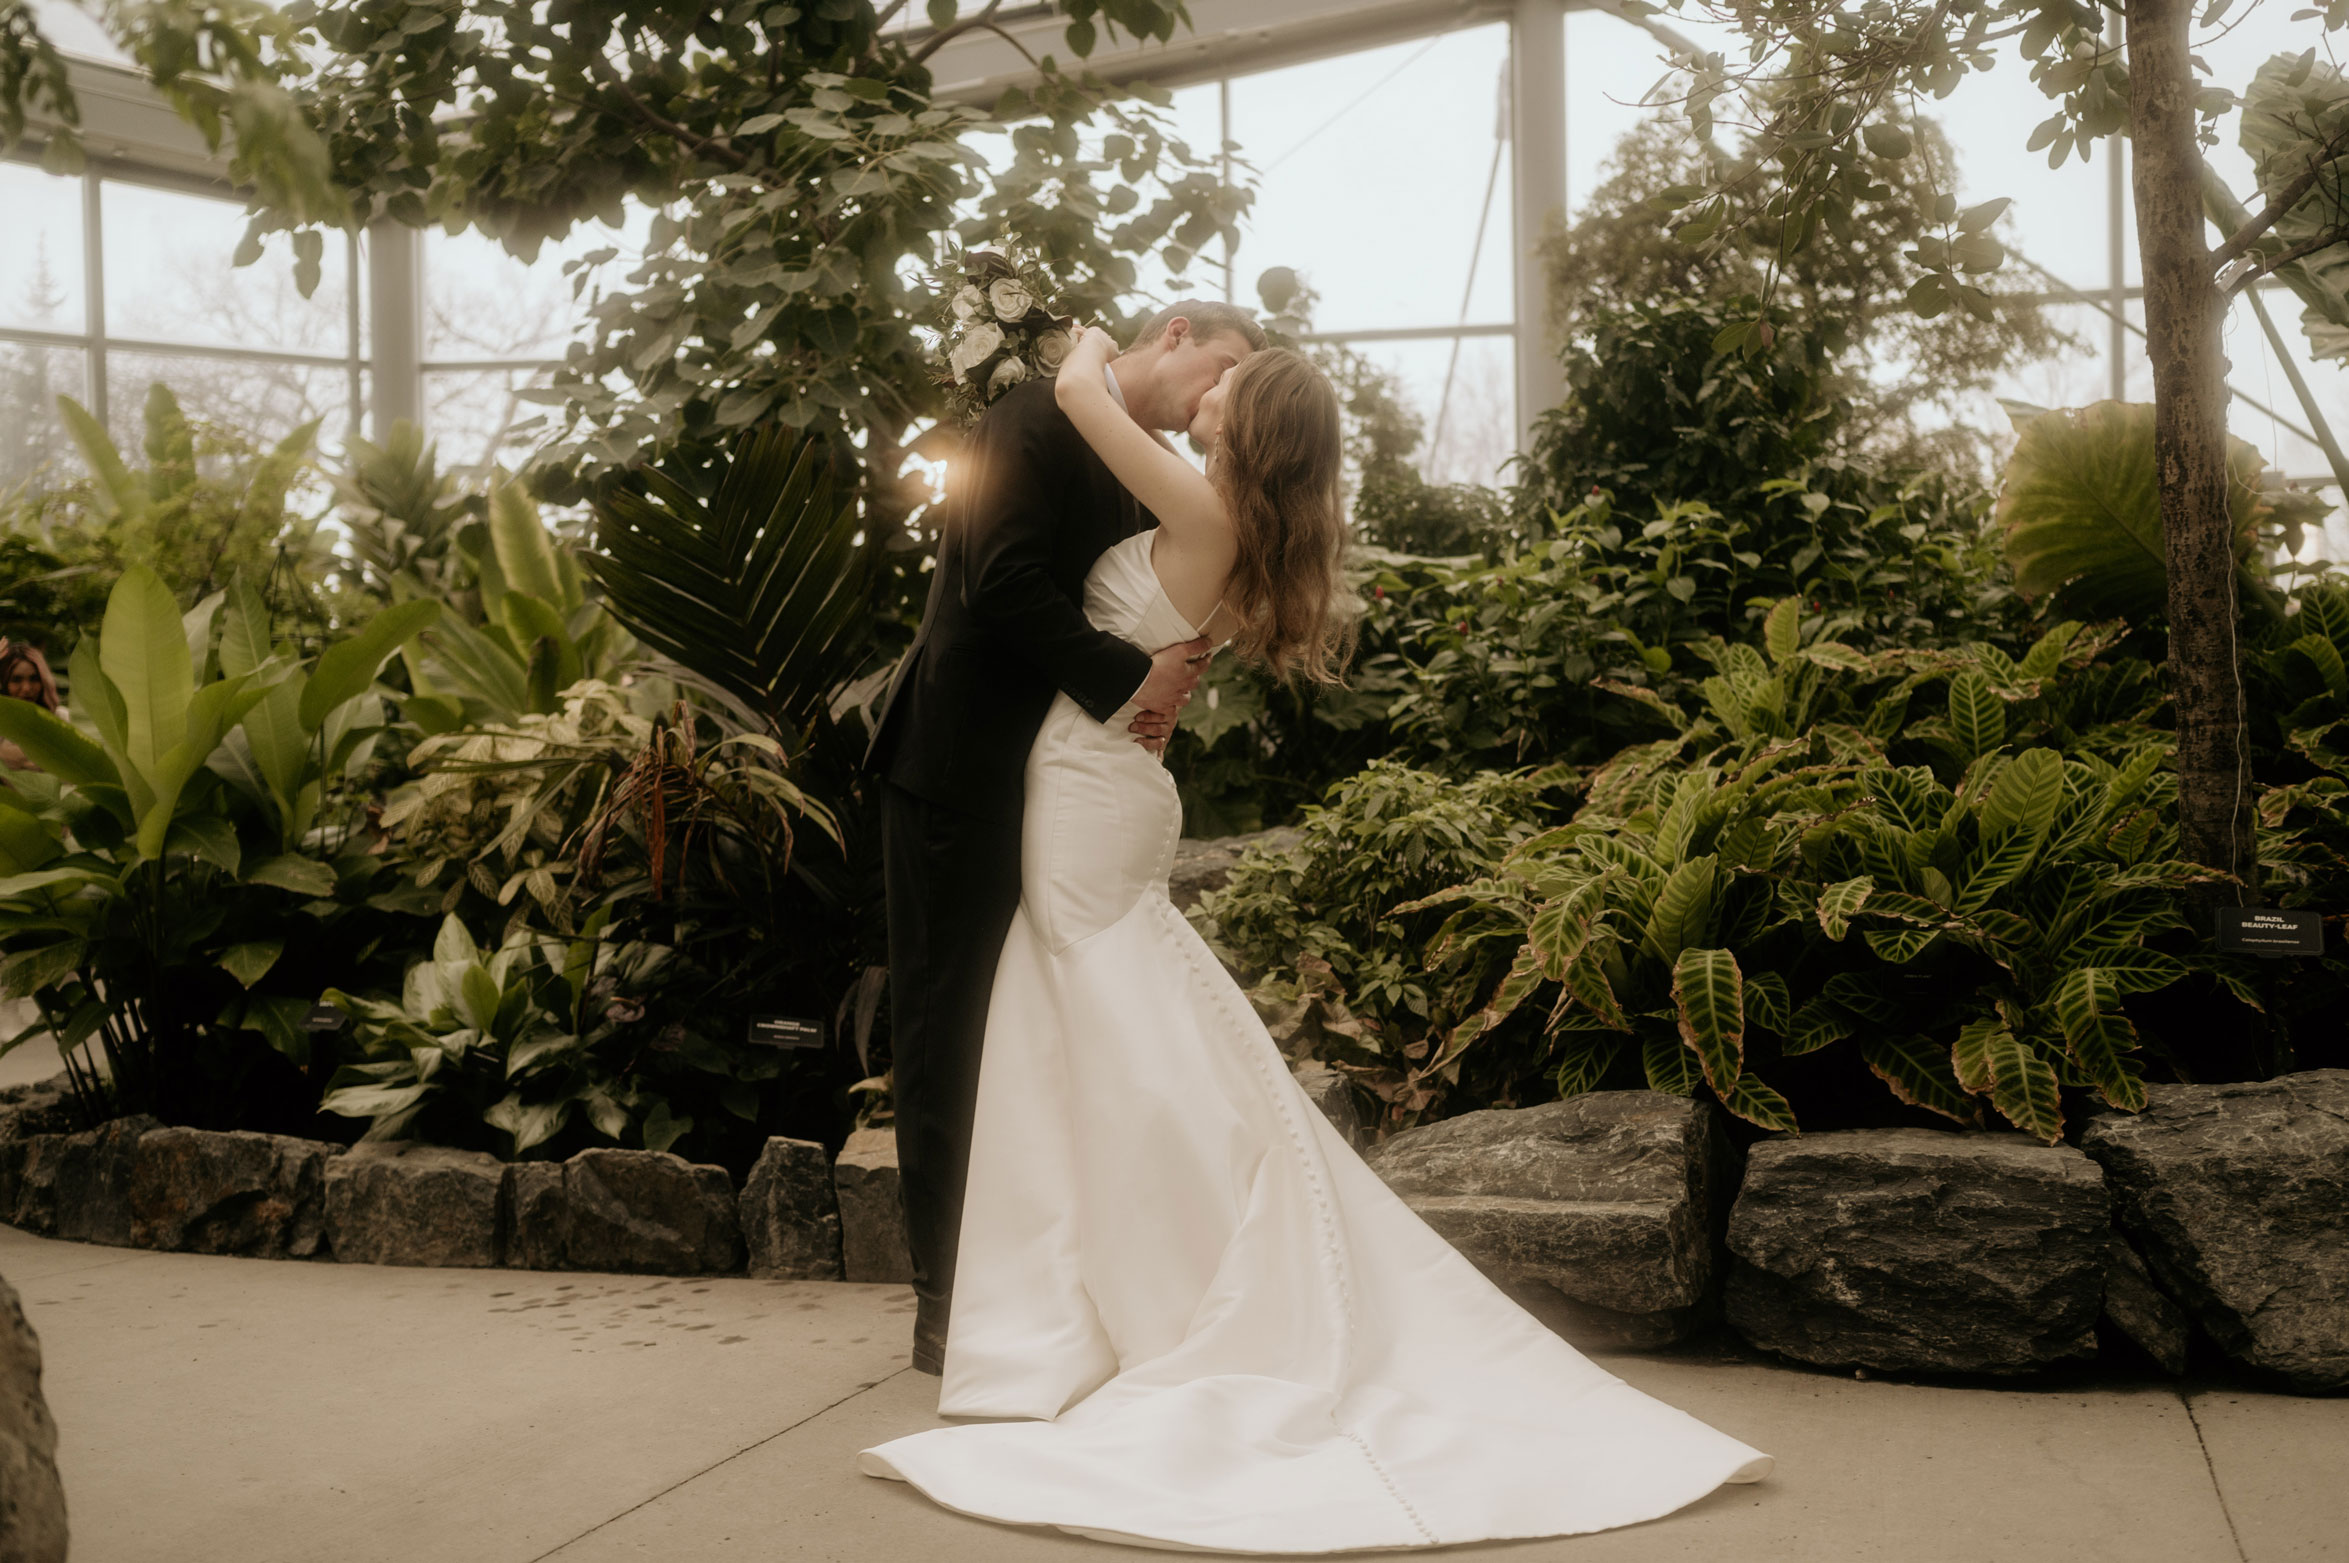
#9 Fort Whyte Alive – Buffalo Crossing
FortWhyte Alive’s Buffalo Crossing brings your wedding into the heart of nature without leaving the city. This newly developed multi-purpose venue features lakeside views, forest trails, and prairie landscapes, perfect for couples who want a wedding immersed in outdoor beauty with a modern, sustainable twist. With reception spaces like the Paul Albrechtsen Visitor Centre or the Alloway Reception Centre offering high ceilings, natural light, and deck spaces overlooking lakes, you can celebrate indoors while enjoying nature right outside your doors. Brides and grooms also have access to trails and marsh boardwalks for unforgettable photo moments at sunrise, sunset, or throughout the day.
Positives:
• Stunning natural scenery for portraits and ceremonies
• Flexible, nature-oriented reception spaces with lakeside views
#10 Assiniboine Park
Assiniboine Park is one of Winnipeg’s largest and most beloved urban green spaces, offering couples a range of wedding and event spaces from The Pavilion with its elegant garden setting to outdoor gardens, sculpture gardens, and banquet halls with sweeping views of landscaped lawns and water features. Whether you want a ceremony in the Leo Mol Sculpture Garden, a reception in the Qualico Family Centre, or a garden-framed celebration near seasonal blooms, Assiniboine Park delivers variety and natural beauty in a single location. Its mix of formal gardens, iconic architecture, and open lawns gives photographers endless backdrops for romantic and timeless wedding images.
Positives:
• Multiple venue and photography locations within one park
• Beautiful gardens and classic park landscapes
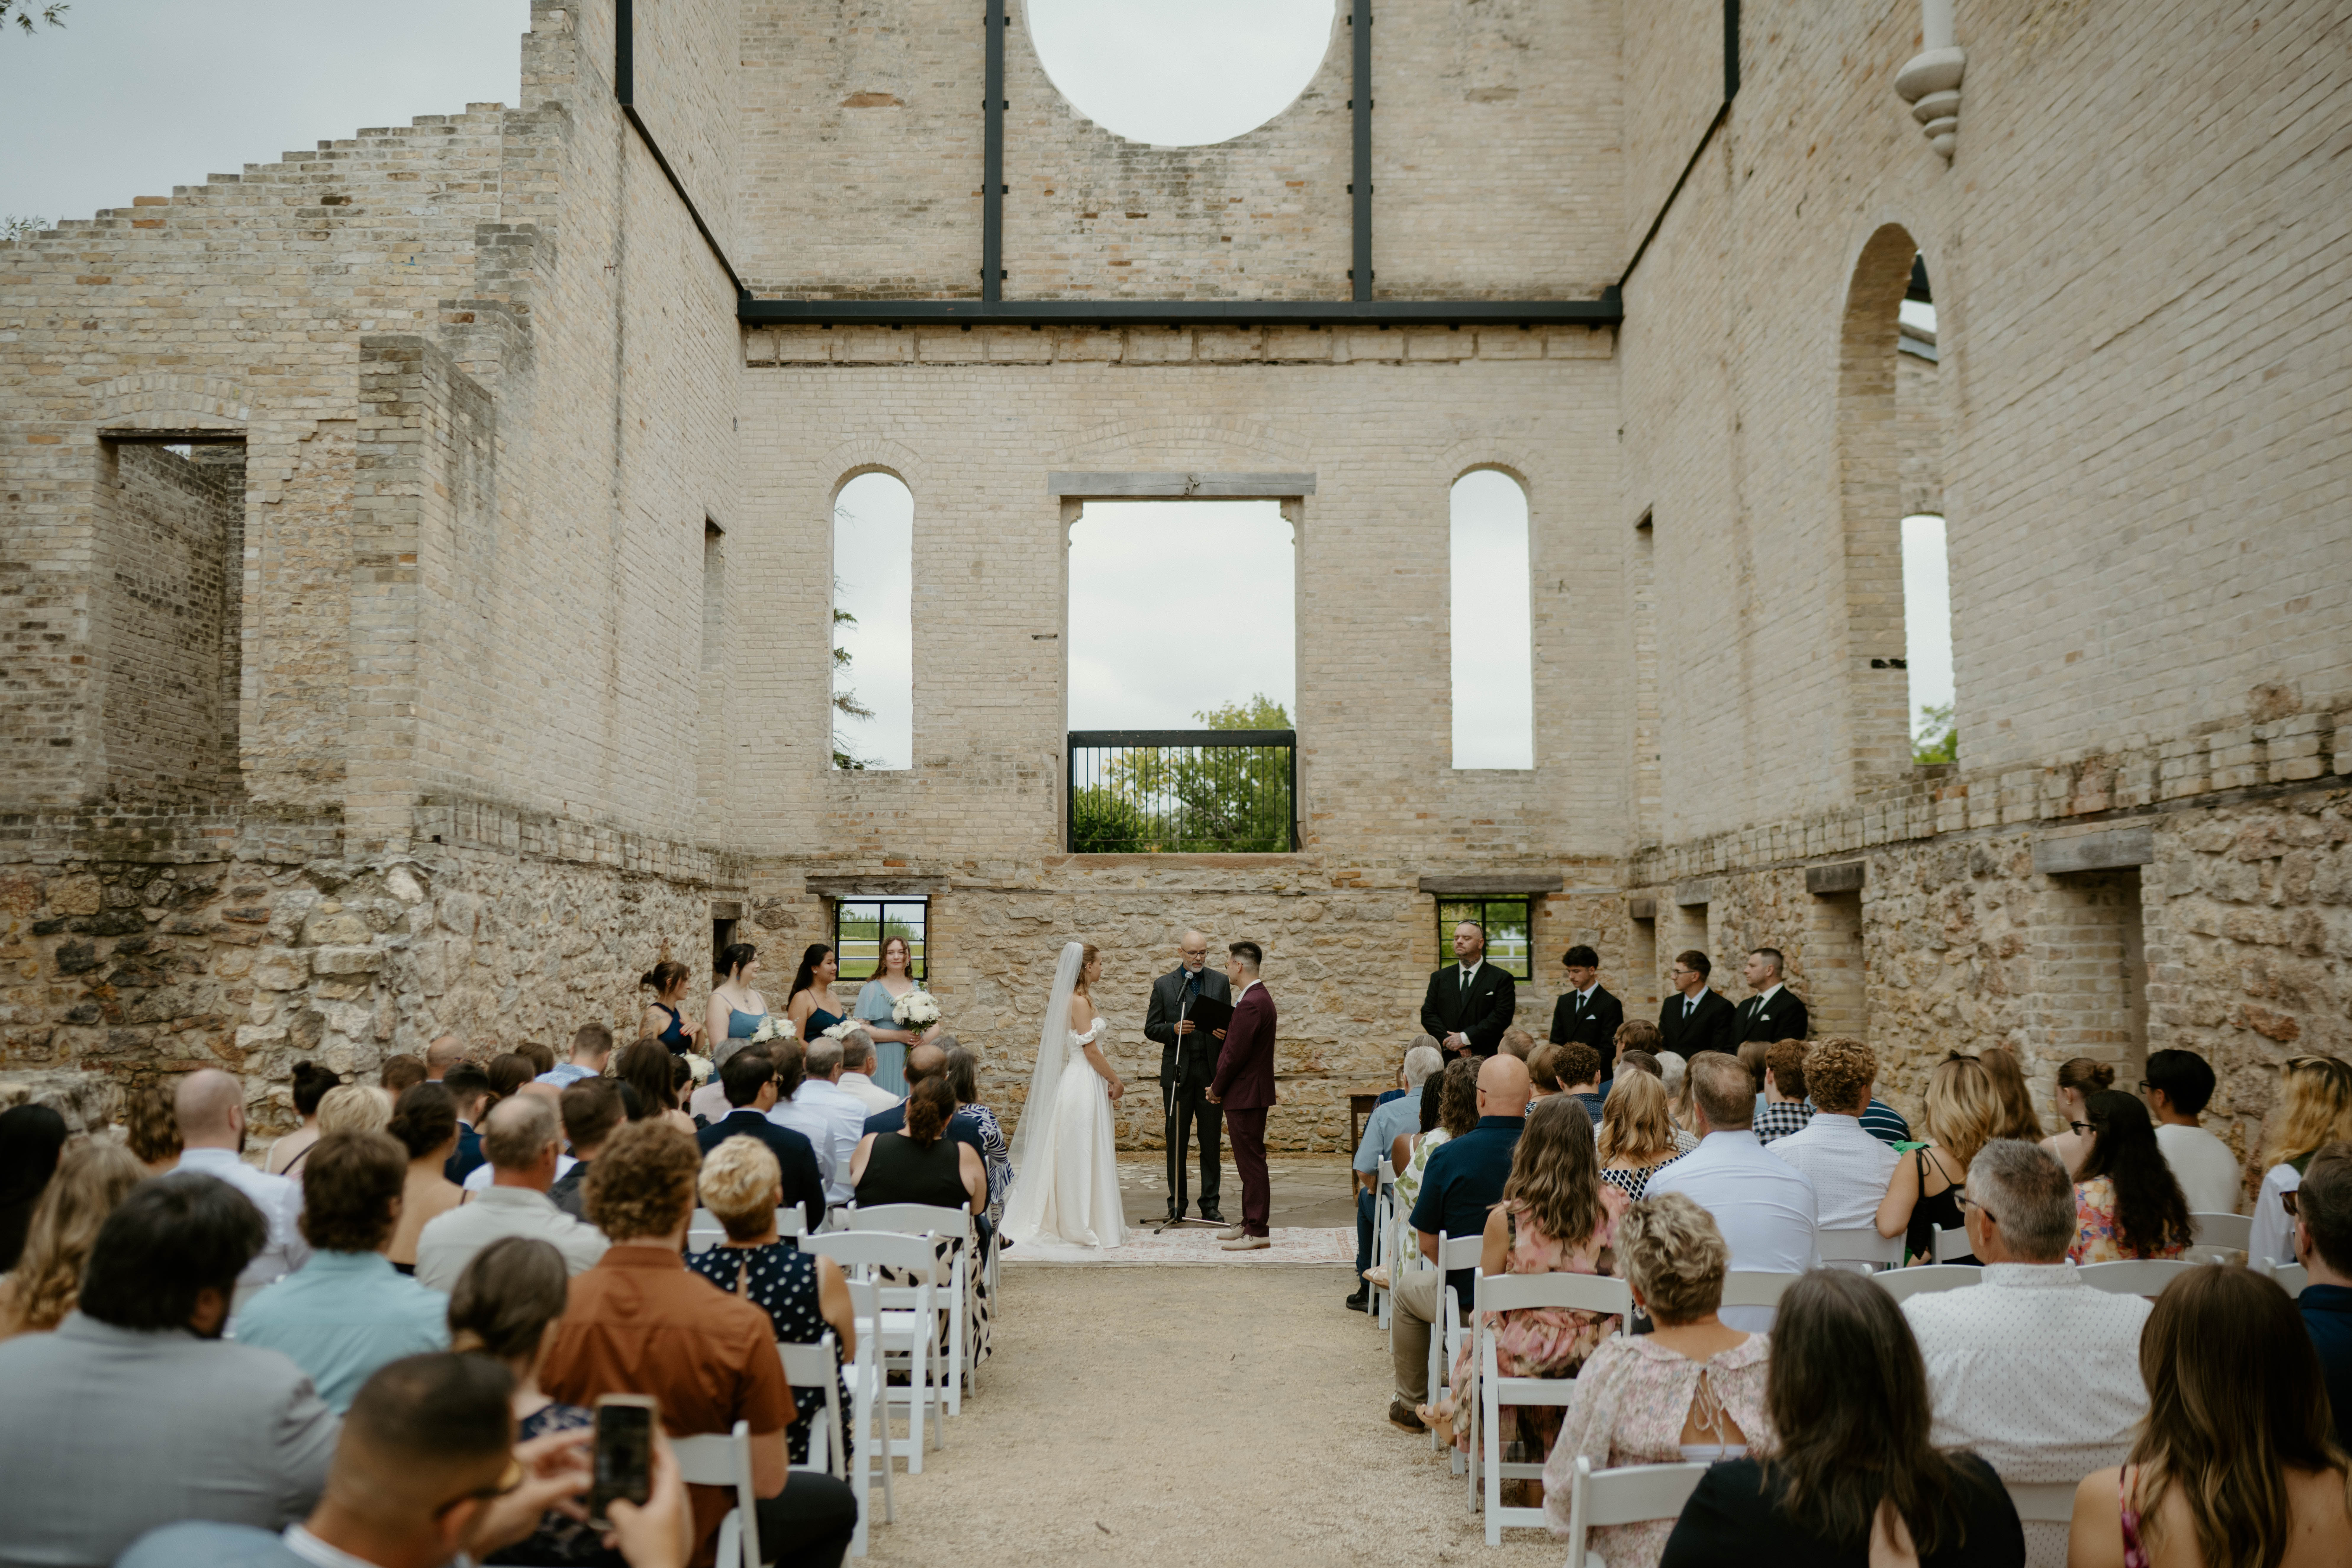
Bonus! St Norbert Monastery Ruins
The St. Norbert Monastery Ruins — located in the historic Trappist Monastery Provincial Heritage Park — offer couples an atmospheric and unforgettable backdrop for weddings nestled among stone ruins, ivy-covered walls, and riverside greenery. This heritage site blends historic architecture with natural beauty, making it a favourite for ceremonies and portrait sessions that feel romantic, moody, and timeless. With options for both outdoor gatherings and nearby reception spaces that can be customized and styled to the couple’s taste, it’s a compelling choice for photographers and couples who want a venue that tells a story through its setting.
Positives:
• One-of-a-kind historic setting for dramatic portraits
• Natural landscapes and textured stone ruins