Switching your Camera over to manual mode
For starters…
Photography in life is incredibly important! The fact that everyone has a story to tell makes photography so valuable. The best way to do this is on manual mode.
You might be thinking, I got this setting that automatically changes my settings, why not use that? Manual mode gives you full control of the outcome of your photos, and will make a world of difference. Although it may be scary, switch your camera to Manual mode. Manual is controlled with 3 main settings called the “Pillars of Photography” Aperture, Shutter Speed, and ISO. All of them control what’s called exposure. I do not expect you to be an expert after this, trust me, it took me a while. The definition of exposure is the amount of light reaching the sensor or more simply, how bright your photos are. If you’re hearing this for the first time that’s great, take some notes and soak it all in. If you already know how to use manual mode, I still think you’ll be able to learn a lot. Today we are going to learn how to balance each of these settings to get the right exposure you want and the best outcome for the photo.
Aperture
This is probably the most complicated setting you’ll have to master and understand. Aperture is often explained as the pupil of the camera. Our pupils get larger when there is less light and smaller when there’s more light. Aperture is the opening of the lens. The way we control aperture on our camera is with the setting called F-stop. I might use Aperture and F-Stop interchangeably. Aperture also controls another aspect of photography. This area is called Depth of Field (how much is in focus) ,our eye also works like this. With a small depth of field we got less in focus. Bigger depth of field is having more of your image in focus. This means if you have a beautiful landscape and want all the mountains in focus you would use a bigger depth of field.
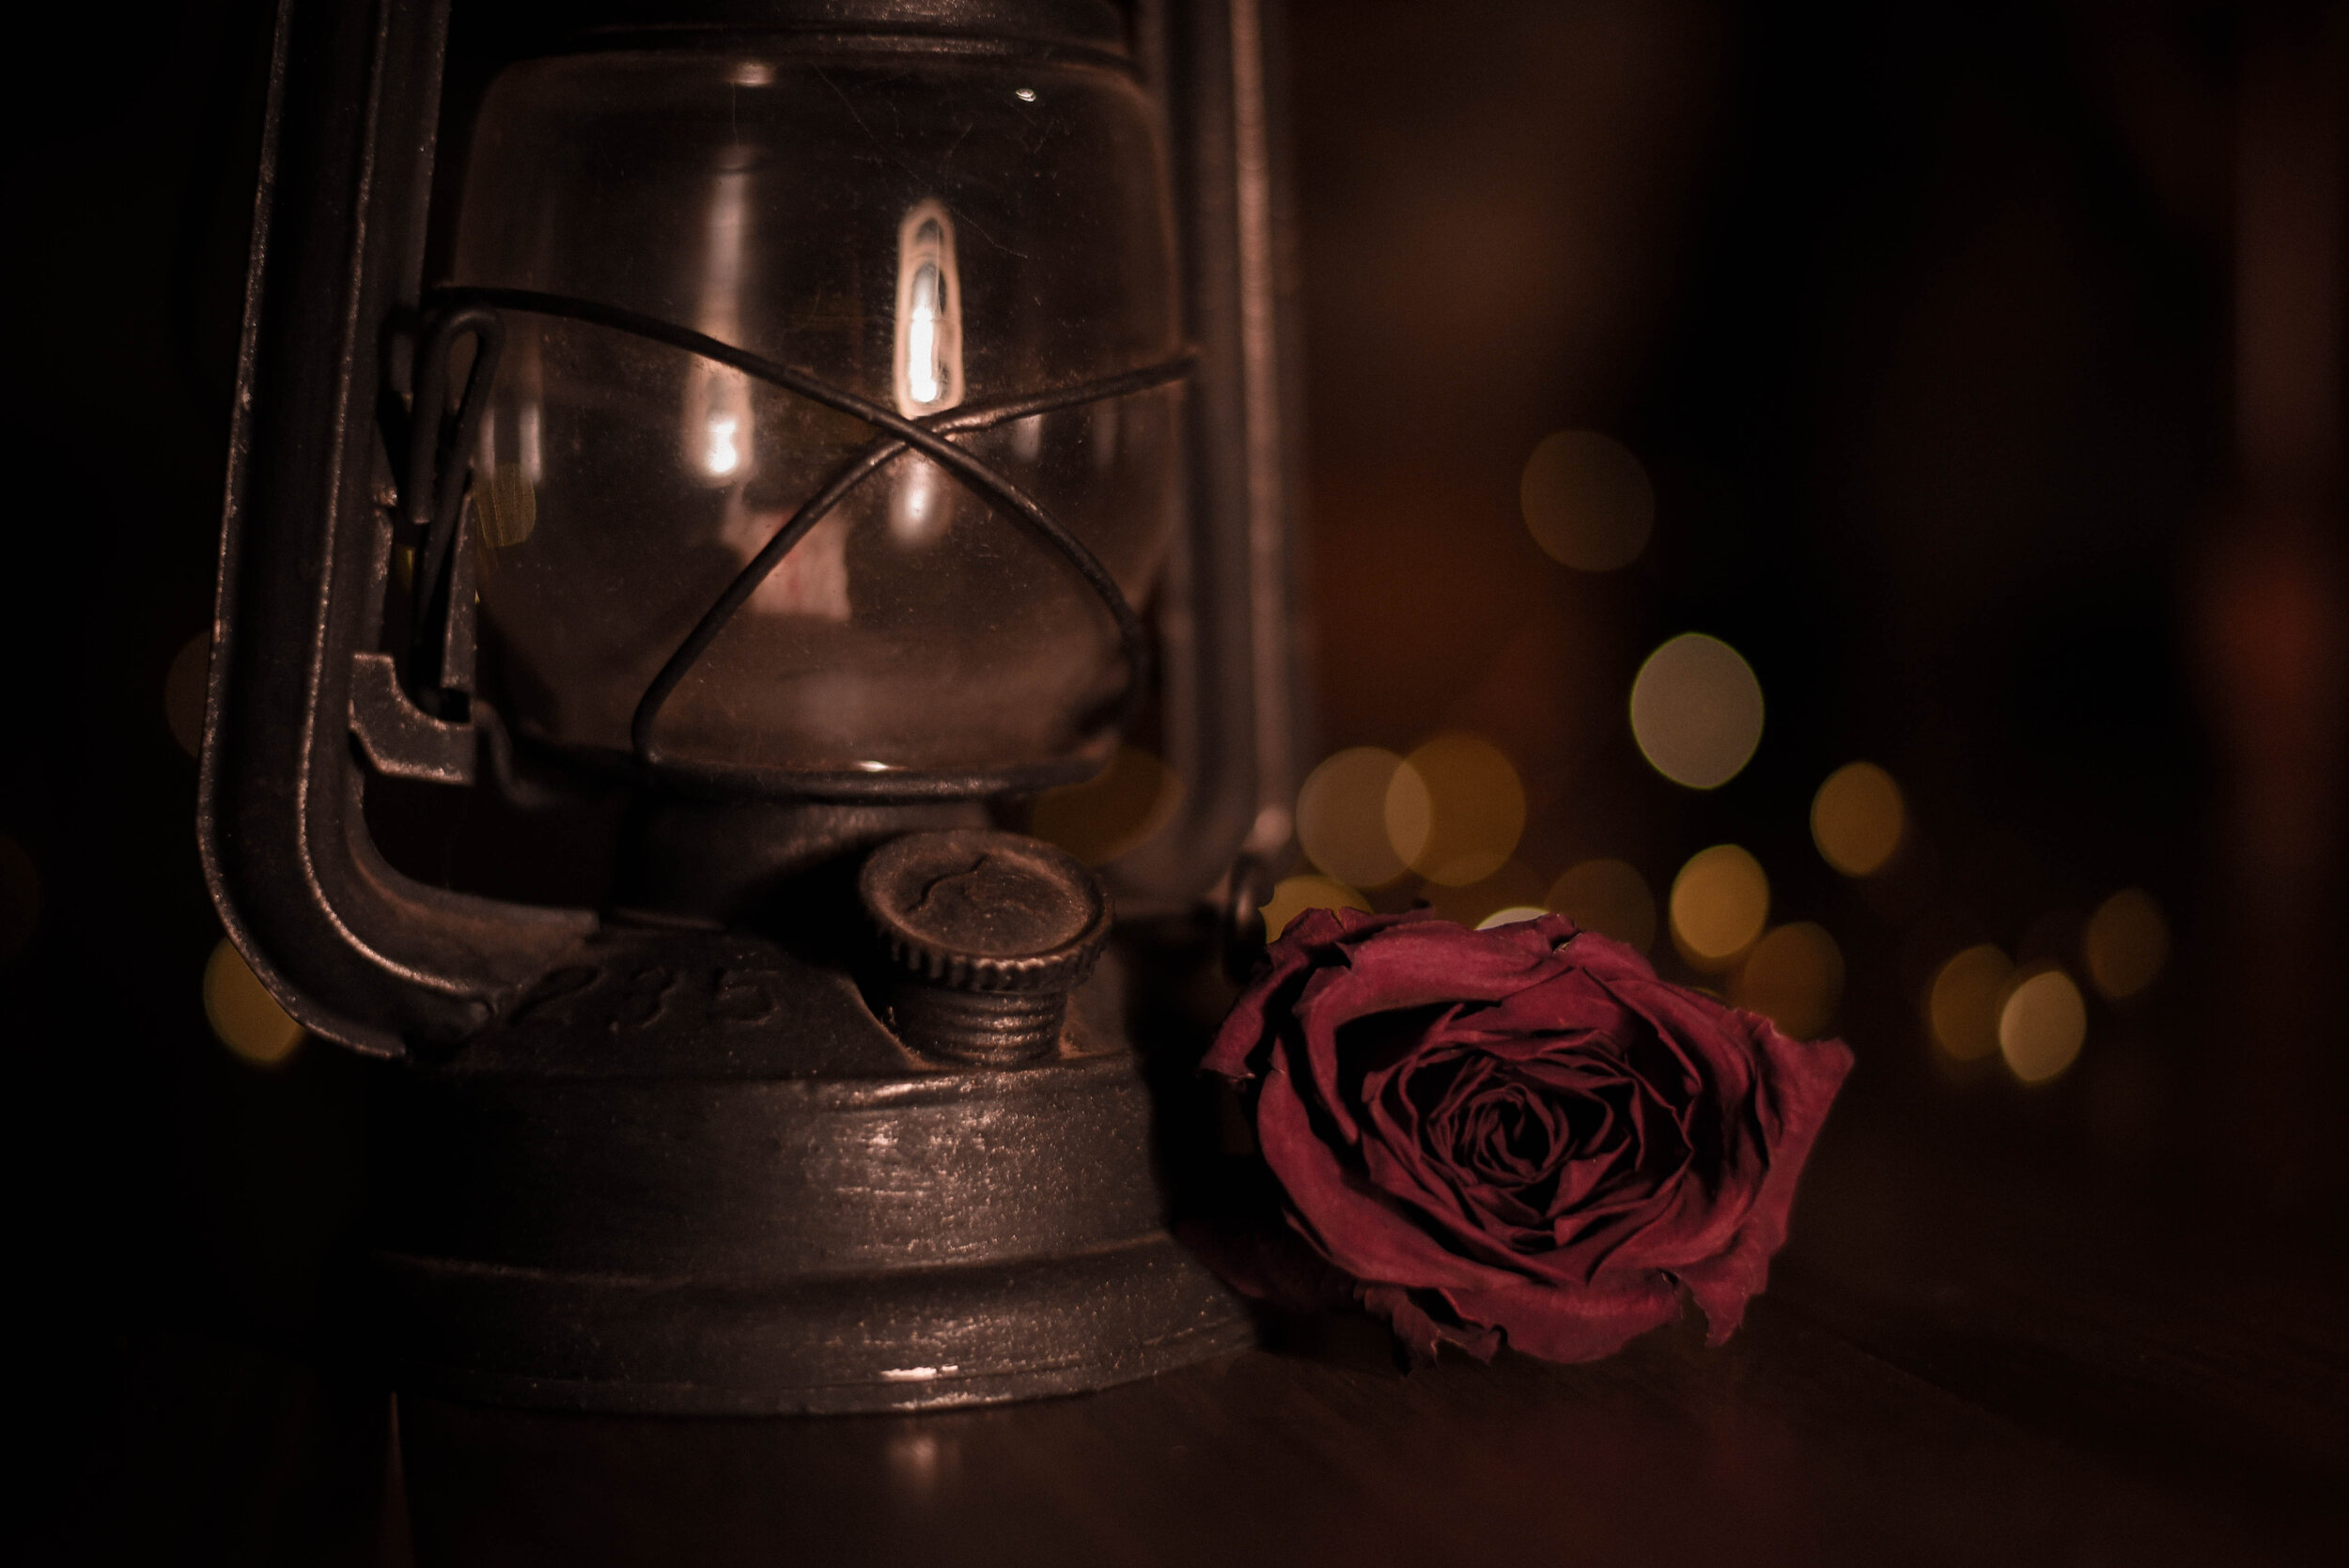
This is where you might get confused, a small opening in the lens is controlled with a large aperture number giving you a bigger depth of field but also because the opening is smaller it will let in less light. If you want a nice landscape photo where everything is in focus then you would have a large F-stop number but will make your photo darker, or if you want a nice picture of a flower but don’t want all the background details being distracting then using a small depth of field will allow the flower to be in focus while the background is not.
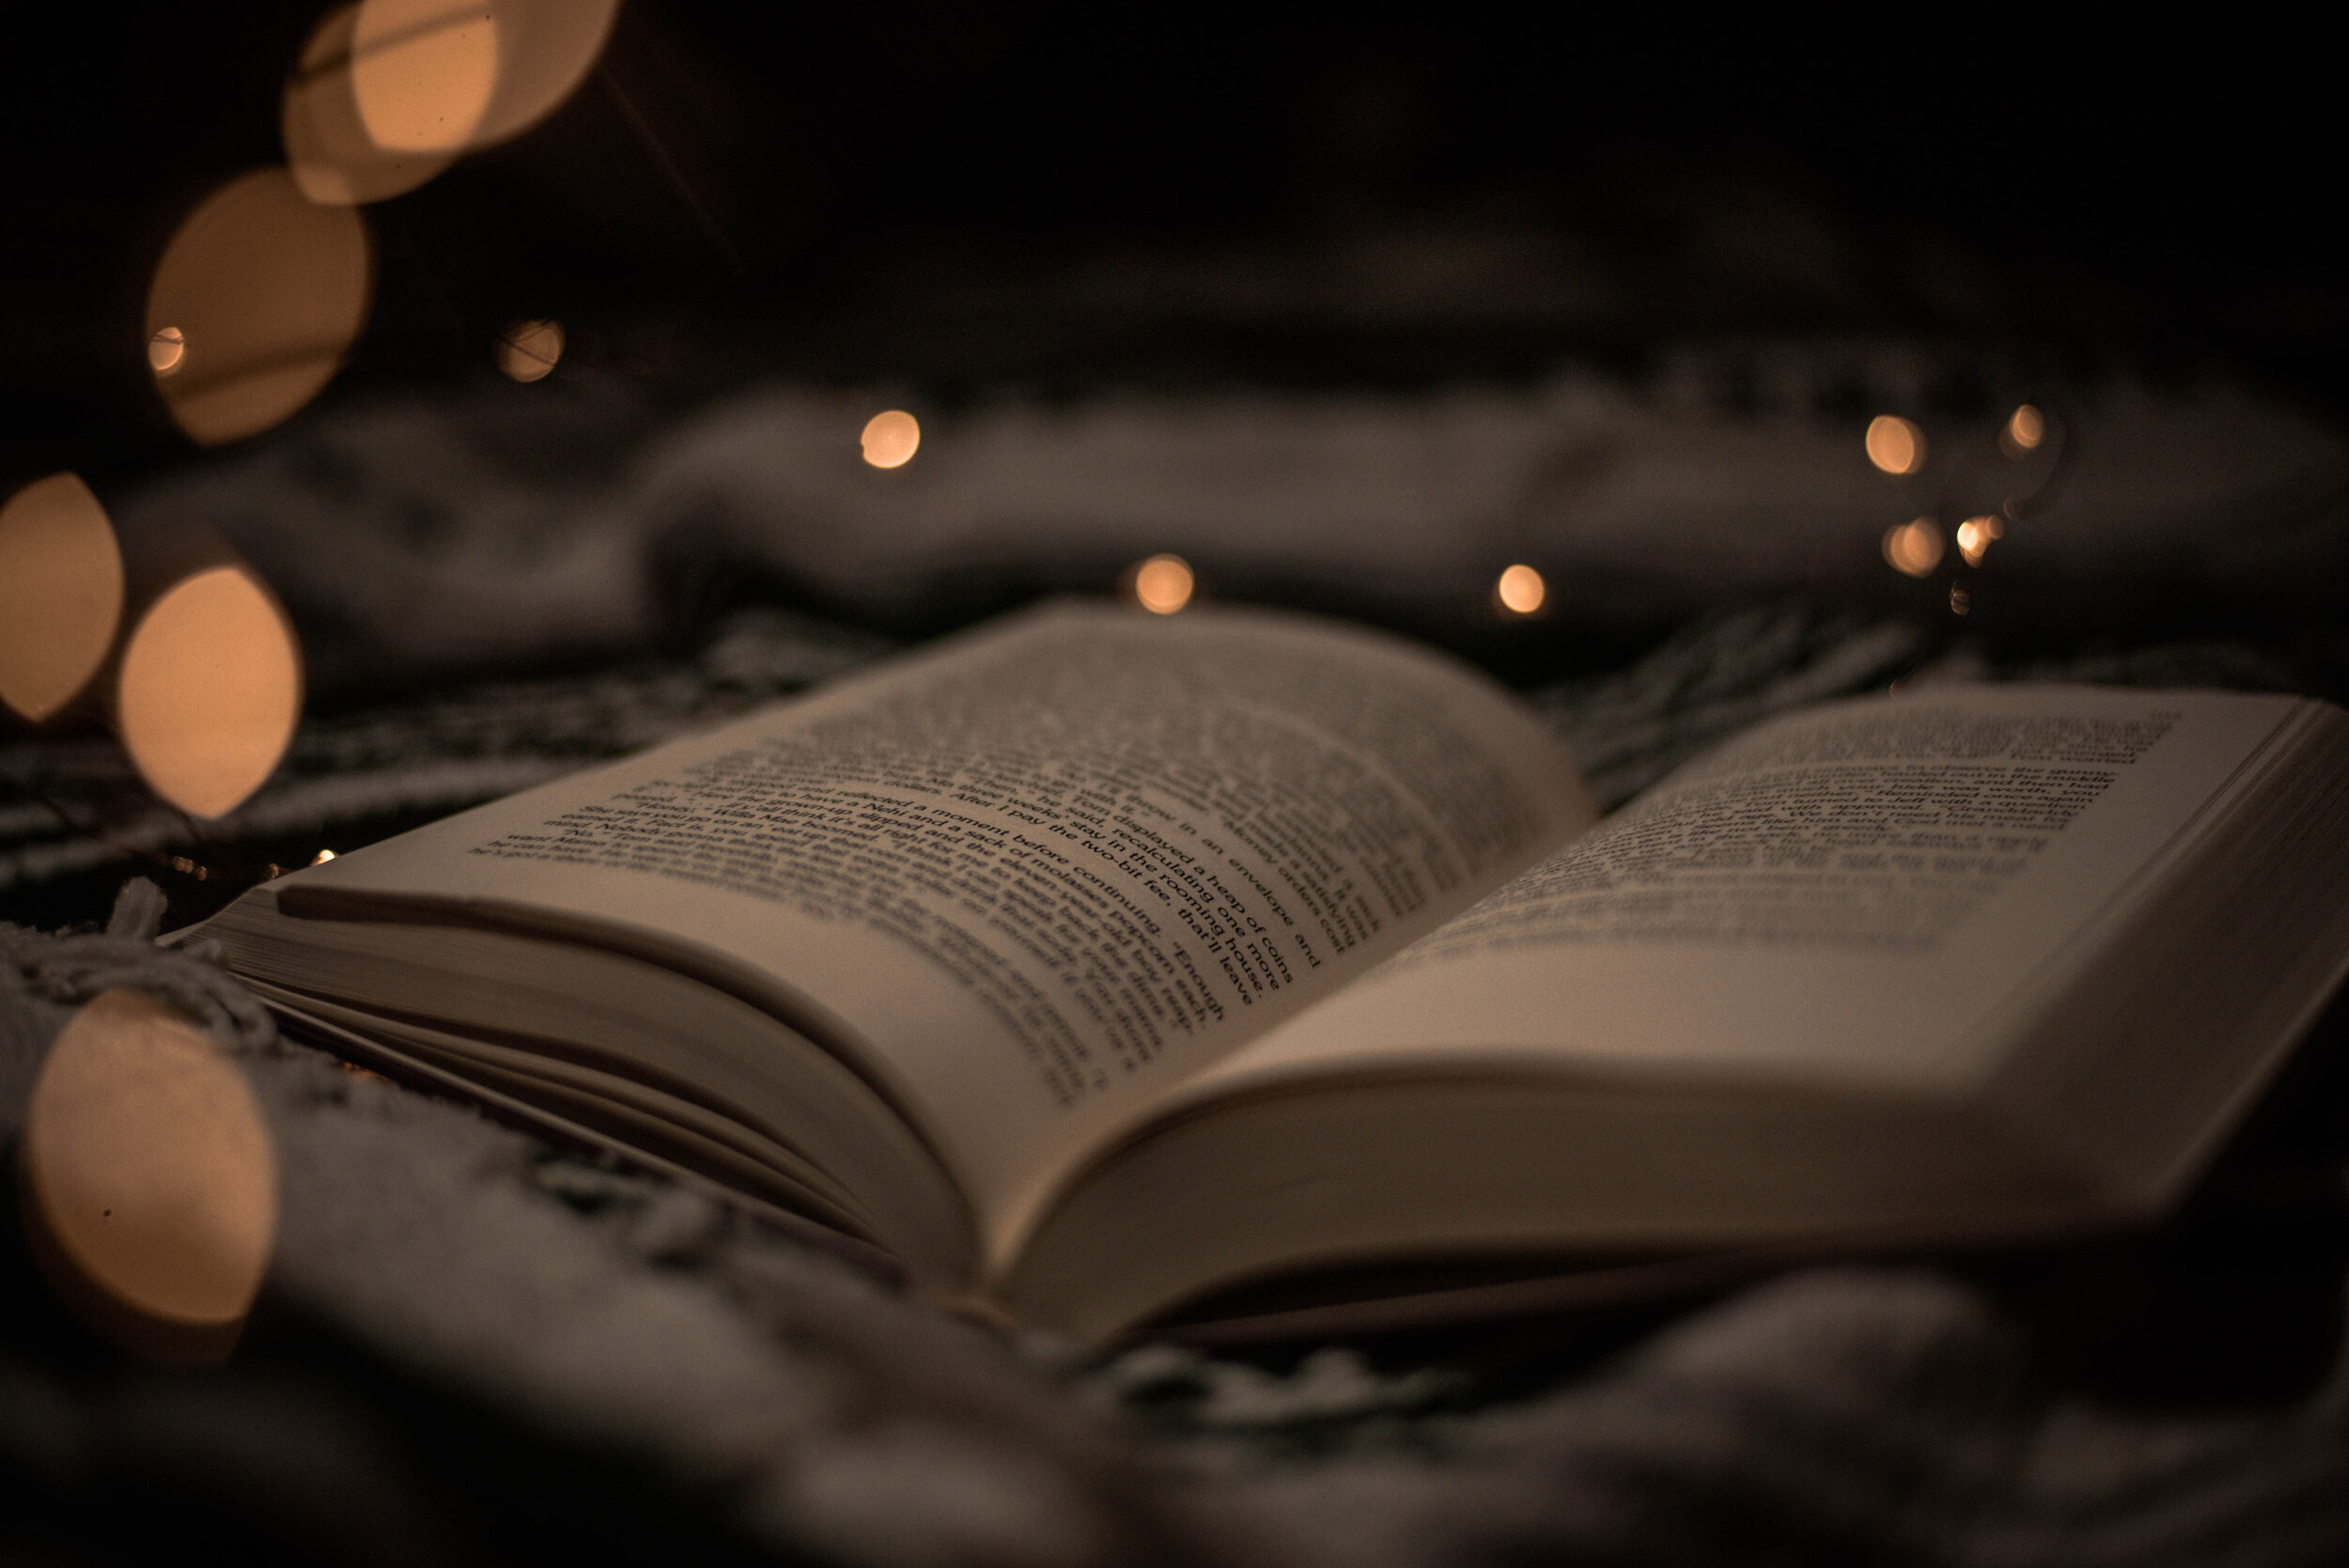
Take your finger and hold it up close to your face, if you focus on your finger notice the background being super out of focus. That would be an example of a small depth of field. Holding your finger farther away makes more of the background in focus which would be an example of a bigger depth of field.. Just to make it more confusing they control a big opening in the lens with a small F-stop. Let’s recap…
Bigger F-stop Ex. F/24
Letting in Less Light Smaller Lens Opening
Bigger Depth of Field More in Focus
Smaller F-stop Ex. F/2.5
Letting in More Light Bigger Lens Opening
Smaller Depth of Field Less in Focus
Ingrain this idea of smaller aperture number means more light which means smaller depth of field and vice versa. We will touch on when to use what aperture towards the end, so don’t worry about that. If you understand this so far, great if not we will work on it more so don’t worry.
So turn on your cameras and try and find your F-stop setting. If you aren’t already, turn your camera to manual. We are going to try to take a photo with a small depth of field and a large depth of field. Keep in mind when you try to take a photo with a large depth of field it might get to dark.
Shutter Speed
Much simpler than aperture, shutter speed is simply the speed at which the photo is taken, also how long the “shutter” is open letting light come in to the sensor. For fast moving objects you need a faster shutter speed, for slower objects you don’t need that fast of shutter speed. Your shutter speed has to be set depending on the light around you. Our eyes automatically adjust to the lighting around us whether it be outside or inside, however your camera on manual mode does not. So you must think to yourself, what am I photographing and how much light is around me. If I’m taking a nice photo of one of my friends playing basketball outside during the day my shutter speed will be on the higher end. If you have too slow of shutter speed with a moving focal point, the outcome will be a blurry photo. In some instances you want motion blur however most of the time you want a nice crisp photo. That’s pretty simple right? Well what happens when you want to take a nice photo of your friend playing basketball but instead of it being outside, it’s in a poorly lit gym. Put the shutter speed too high and you will get a dark photo, put the shutter speed to low and you will get a blurry photo. This is when ISO comes in.
ISO
Iso stands for “International Organization of Standardization” which is totally not important. What you do need to know about is grain or digital noise. Think sand on a photo, or maybe a TV without signal. ISO essentially brightens a photo but at a cost, more you brighten an image the more digital noise you add. However, it’s still better to be able to have a properly exposed image (right lighting in a picture). So if you set your aperture to the right setting and got your shutter speed for the amount of movement in the image but it is still too dark. Then you start bumping up your Iso.
How do all these settings work together you ask? Great question, the answer is we learn to balance them.
Balancing
Consider this analogy, getting the right amount of light in your image is like filling a bucket with water. The bucket being the sensor of your camera. Your aperture (remember it’s the opening of the lens changing depth of field) is the hose filling the bucket with water, with a bigger hose you fill the bucket quicker and with a smaller hose you fill it up slower. Shutter speed is the amount of time you have to fill the bucket, a longer shutter speed and you have longer to fill the bucket (remember too slow of shutter speed means a possibility for blur). Where does ISO come into this analogy? Well ISO is the size of the bucket. Higher ISO means you have a smaller bucket to fill (remember this gives you a grainer photo). With this analogy try to imagine filling the bucket but trying not to get Blur/Grain. You have probably noticed that each of the three settings talked about above changes the amount of light in your image in one way or another. I’m going to give you the steps to make it easier to set up your settings. This way of thinking makes it much less overwhelming. First we study the prop and or model. This could be a mountain range in bright light or a picture of your dog in dark lighting.